As a homeowner, tackling a DIY project can be incredibly satisfying, but it’s just as important to know when to call in a professional. When it comes to your HVAC system, a heat pump reversing valve repair is firmly in the "call a pro" category. This isn't like changing a filter; it’s a complex procedure that involves handling federally regulated refrigerant, using specialized tools like brazing torches, and working with high-pressure lines. Attempting this yourself can lead to costly system damage or safety risks. This guide explains the entire process so you understand why it requires an expert touch and what to expect when our technicians arrive.
Key Takeaways
- Know the warning signs: A heat pump that is stuck in one mode, blows cold air on the heat setting, or runs nonstop is likely dealing with a bad reversing valve.
- Leave this repair to the experts: Replacing a reversing valve is not a DIY project; it involves handling regulated refrigerant and using specialized tools, so professional skill is necessary to avoid safety risks and further system damage.
- Protect your investment with maintenance: Routine professional tune-ups are the best way to prevent valve failure. If a repair is needed on an older unit, weigh the cost against the long-term benefit of upgrading to a new system.
What Is a Heat Pump Reversing Valve?
Think of your heat pump as the versatile, all-in-one workhorse for your home’s comfort. The secret to its dual ability is a small but mighty component called the reversing valve. This part is essentially the traffic controller of your heat pump, deciding whether your system brings cool air in or sends warm air through your vents. It works by changing the direction of the refrigerant, the special liquid that transfers heat. This clever piece of engineering is what allows a single unit to both heat and cool your home, making it an incredibly efficient choice for the Corpus Christi climate.
How It Switches Between Heating and Cooling
The reversing valve’s main job is to manage the flow of refrigerant. When you set your thermostat to "cool," the valve directs the refrigerant to absorb heat from inside your house and release it outside, working just like a standard air conditioner. When you switch to "heat," the valve reverses this flow. It pulls heat from the outdoor air, even on chilly days, and moves it inside to warm your home. This ability to reverse the cycle is what makes your heat pump so versatile, providing comfortable temperatures all year long without needing two separate systems.
Where to Find It in Your System
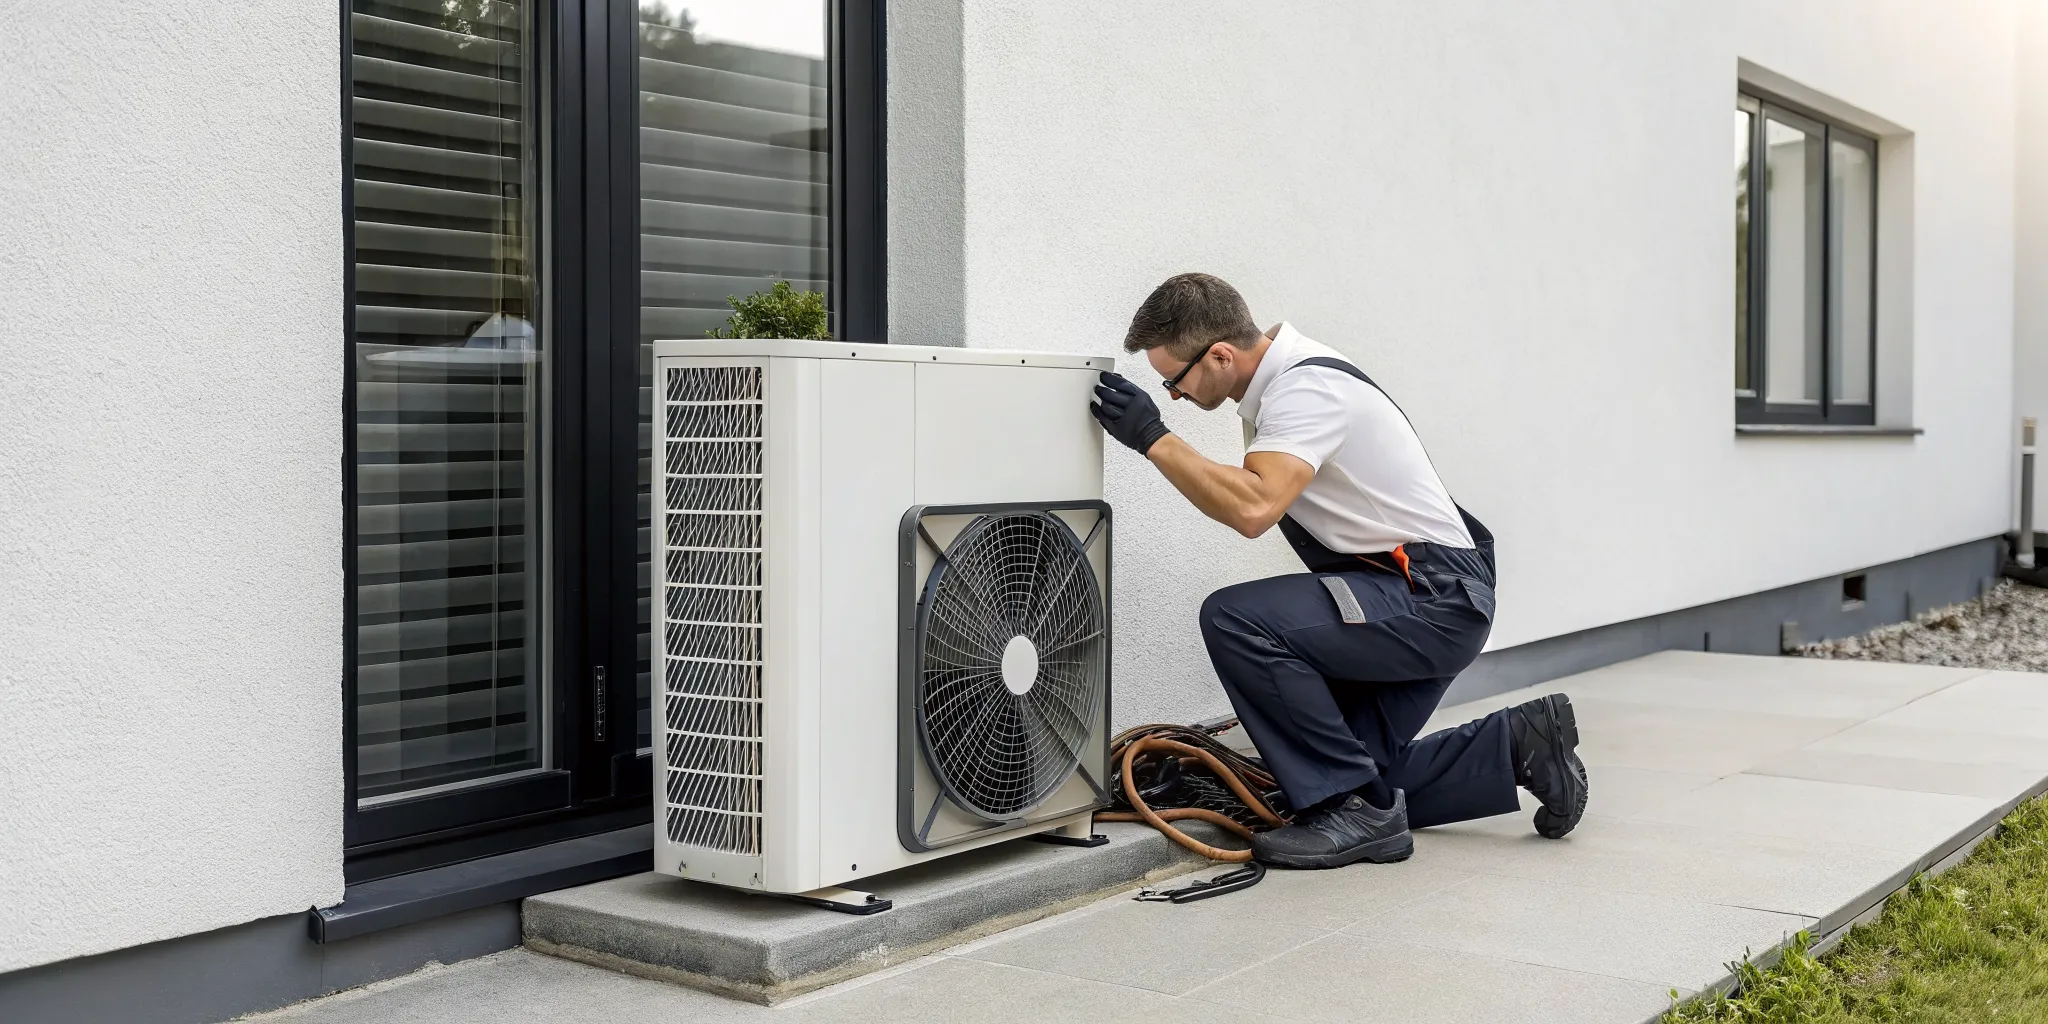
You can find the reversing valve inside your outdoor heat pump unit. It’s a small, typically brass, component connected to several copper tubes. While you can easily spot the large outdoor cabinet, the valve itself is tucked away among the system's internal parts. Because it’s connected to high-pressure refrigerant lines and electrical components, it’s not something you should try to access yourself. Identifying and working with the reversing valve is a job best left to a trained professional who has the right tools and safety knowledge to handle it correctly.
The Typical Lifespan of a Reversing Valve
A reversing valve in a quality system, like the ones from Trane, is built to last, typically having a lifespan of 10 to 15 years. However, its longevity depends heavily on how well the heat pump is maintained. Factors like dirt buildup, electrical issues, or operating in harsh conditions without regular check-ups can cause it to fail sooner. Consistent, professional maintenance is the best way to protect the reversing valve and all the other critical parts of your heat pump, ensuring it runs efficiently for as long as possible.
7 Signs Your Reversing Valve Is Failing
Your heat pump is a fantastic two-in-one system, but when a small part like the reversing valve has a problem, it can throw everything off. This valve is the traffic controller for the refrigerant, telling it where to go to either heat or cool your home. If it starts to fail, you’ll notice your home comfort taking a nosedive. Paying attention to the warning signs can help you catch the issue before it leads to a complete system breakdown or an expensive emergency call. Here are seven common signs that your heat pump’s reversing valve is on its way out.
Stuck in One Mode (Heating or Cooling)
One of the most obvious signs of a failing reversing valve is when your heat pump gets stuck in one mode. You might find it’s only blowing hot air in the middle of a Corpus Christi summer or blasting cold air when you need warmth on a chilly night. This happens because the valve is physically stuck and can no longer redirect the refrigerant flow to switch between heating and cooling. If your system refuses to change from one function to the other, a malfunctioning reversing valve is the most likely culprit, and it’s time to call for professional air conditioning services.
Cold Air in Heat Mode
It’s a cold evening, and you turn on your heat, only to be met with a stream of lukewarm or outright cold air. This is a classic symptom of a reversing valve that’s stuck in the cooling position. The rest of your heat pump might be working perfectly, but if the valve can’t switch over to the heating cycle, it will continue to run as if it’s trying to cool your home. This not only leaves you in the cold but also means your system is wasting energy trying to perform the wrong task. It’s a clear signal that the valve is stuck or broken and needs a professional inspection.
Weak or Inconsistent Temperatures
Does it feel like your heat pump is running constantly but your home never quite reaches the temperature you set on the thermostat? This frustrating situation can be caused by a reversing valve that isn't working correctly. Instead of being completely stuck, the valve might be partially blocked or slow to respond, leading to weak airflow or temperatures that fluctuate. Your system struggles to keep up, running for long periods without ever achieving total comfort. This inefficiency puts extra strain on your entire HVAC system and is a good reason to schedule a heating system repair.
Strange Hissing or Clicking Noises
Your heat pump should operate relatively quietly, so new and unusual sounds are always a cause for concern. If you hear a loud clicking or buzzing sound from your outdoor unit when the system tries to switch between heating and cooling, it could be the solenoid on the reversing valve struggling to activate. You might also hear a loud hissing or a "whoosh" of gas. While a quiet whoosh during the defrost cycle is normal, a loud, continuous hiss could indicate a refrigerant leak in or around a damaged valve. Don't ignore these auditory clues; they’re often the first warning of a bigger problem.
Your System Runs Non-Stop
A heat pump that runs continuously without shutting off is a major red flag. When the reversing valve is faulty, your system can’t efficiently heat or cool the space. As a result, it never satisfies the thermostat's setting, forcing it to run and run in a futile attempt to reach the target temperature. This constant operation not only sends your energy bills soaring but also causes excessive wear and tear on the compressor and other critical components. If your system has started running a marathon instead of cycling normally, a failing reversing valve could be the reason.
Visible Refrigerant Leaks
While you might not see liquid dripping, you can sometimes spot the signs of a refrigerant leak around the outdoor unit. A malfunctioning reversing valve can sometimes lead to leaks, which often look like an oily residue on the valve body or surrounding copper lines. You might also notice frost or ice buildup on the coils, even in warmer weather. Since handling refrigerant requires EPA certification and specialized tools, you should never try to fix a leak yourself. If you suspect a leak, it’s crucial to contact us right away to prevent further damage and ensure a safe repair.
Higher Energy Bills
Your utility bill is often the first place you’ll see evidence of an HVAC problem. A faulty reversing valve forces your heat pump to work much harder than it should, causing a significant drop in efficiency. The system runs longer and consumes more electricity to produce the same amount of heating or cooling. If you’ve noticed a sudden and unexplained spike in your energy costs, it’s worth investigating your heat pump’s performance. A failing valve can easily cause your bill to jump, making a timely repair a smart investment in your home's energy savings.
Can You Troubleshoot a Reversing Valve Yourself?
When your heat pump isn’t cooperating, it’s natural to want to see if you can figure out the problem yourself. And honestly, sometimes a simple fix is all that’s needed. Before you pick up the phone, there are a few safe and easy checks you can perform. These steps can help you rule out basic issues and give you a clearer picture of what’s going on with your system.
However, it’s important to recognize that a reversing valve is a complex and critical part of your heat pump. While the troubleshooting steps below are worth a try, most issues with the valve itself are not DIY-friendly. Think of these as the first line of inquiry. If they don’t solve the problem, it’s a clear sign that it’s time to bring in a professional.
Check Your Thermostat Settings
Let’s start with the simplest check: your thermostat. It might sound obvious, but a wrong setting is a common culprit for heating and cooling issues. First, make sure your system is set to the correct mode, either "Heat" or "Cool." Then, check that the temperature is set so the system should actually be running. For example, if it’s 75 degrees in your house, setting the AC to 78 won’t turn it on.
The thermostat communicates with the reversing valve by sending a 24-volt electrical signal to switch between modes. If the thermostat’s batteries are low or the settings are off, it can’t send the right signal. If your settings are correct and you’ve replaced the batteries but the problem persists, the issue could be with the wiring or the valve itself, which requires a professional diagnosis.
Inspect the Outdoor Unit for Debris
Your heat pump’s outdoor unit needs to breathe. If it’s surrounded by dirt, leaves, or overgrown plants, it can’t transfer heat effectively. This can strain the system and sometimes cause symptoms that look like a reversing valve failure. Before you do anything, be sure to turn off the power to your unit at the breaker box for safety.
Once the power is off, take a look around the unit. Clear away any leaves, grass clippings, fallen twigs, or other debris piled up against the sides. You should aim to have about two feet of clear space around the entire unit. Gently rinse the exterior fins with a garden hose (don’t use a pressure washer, as it can bend the delicate fins). This simple cleaning is a key part of regular air conditioning services and can sometimes resolve performance issues.
Try Gently Tapping the Valve
This tip comes with a big dose of caution. Sometimes, a reversing valve isn’t broken, it’s just mechanically stuck. In these rare cases, a very light tap might be enough to jiggle it loose. If you feel comfortable and know what you’re looking at, you can try this. The valve is typically a brass body with several copper tubes connected to it.
If you decide to try this, use the handle of a screwdriver to give the body of the valve a few gentle taps. Do not hit it hard. Using too much force can permanently damage the valve or, worse, break a refrigerant line, leading to a much more expensive repair. If a few light taps don’t do anything, stop. This is a last-ditch effort, not a guaranteed fix.
Know When to Call a Professional
If you’ve checked your thermostat, cleared debris from your outdoor unit, and the problem is still there, your DIY journey is over. It’s time to call for professional help. Reversing valve repair is a complex job that involves handling refrigerant, which requires an EPA certification by law. It also demands specialized tools like torches and vacuum pumps that homeowners don't have.
Trying to replace the valve yourself can lead to refrigerant leaks, further damage to your system, and personal injury. A misdiagnosis can also be costly. Our expert technicians can accurately test the valve, check the electrical signals, and confirm it’s the source of the problem before starting any work. If your heat pump is stuck in the wrong mode, don’t risk it. Contact Tommy Cool Air and let our team handle it safely and correctly.
How a Pro Diagnoses a Faulty Reversing Valve
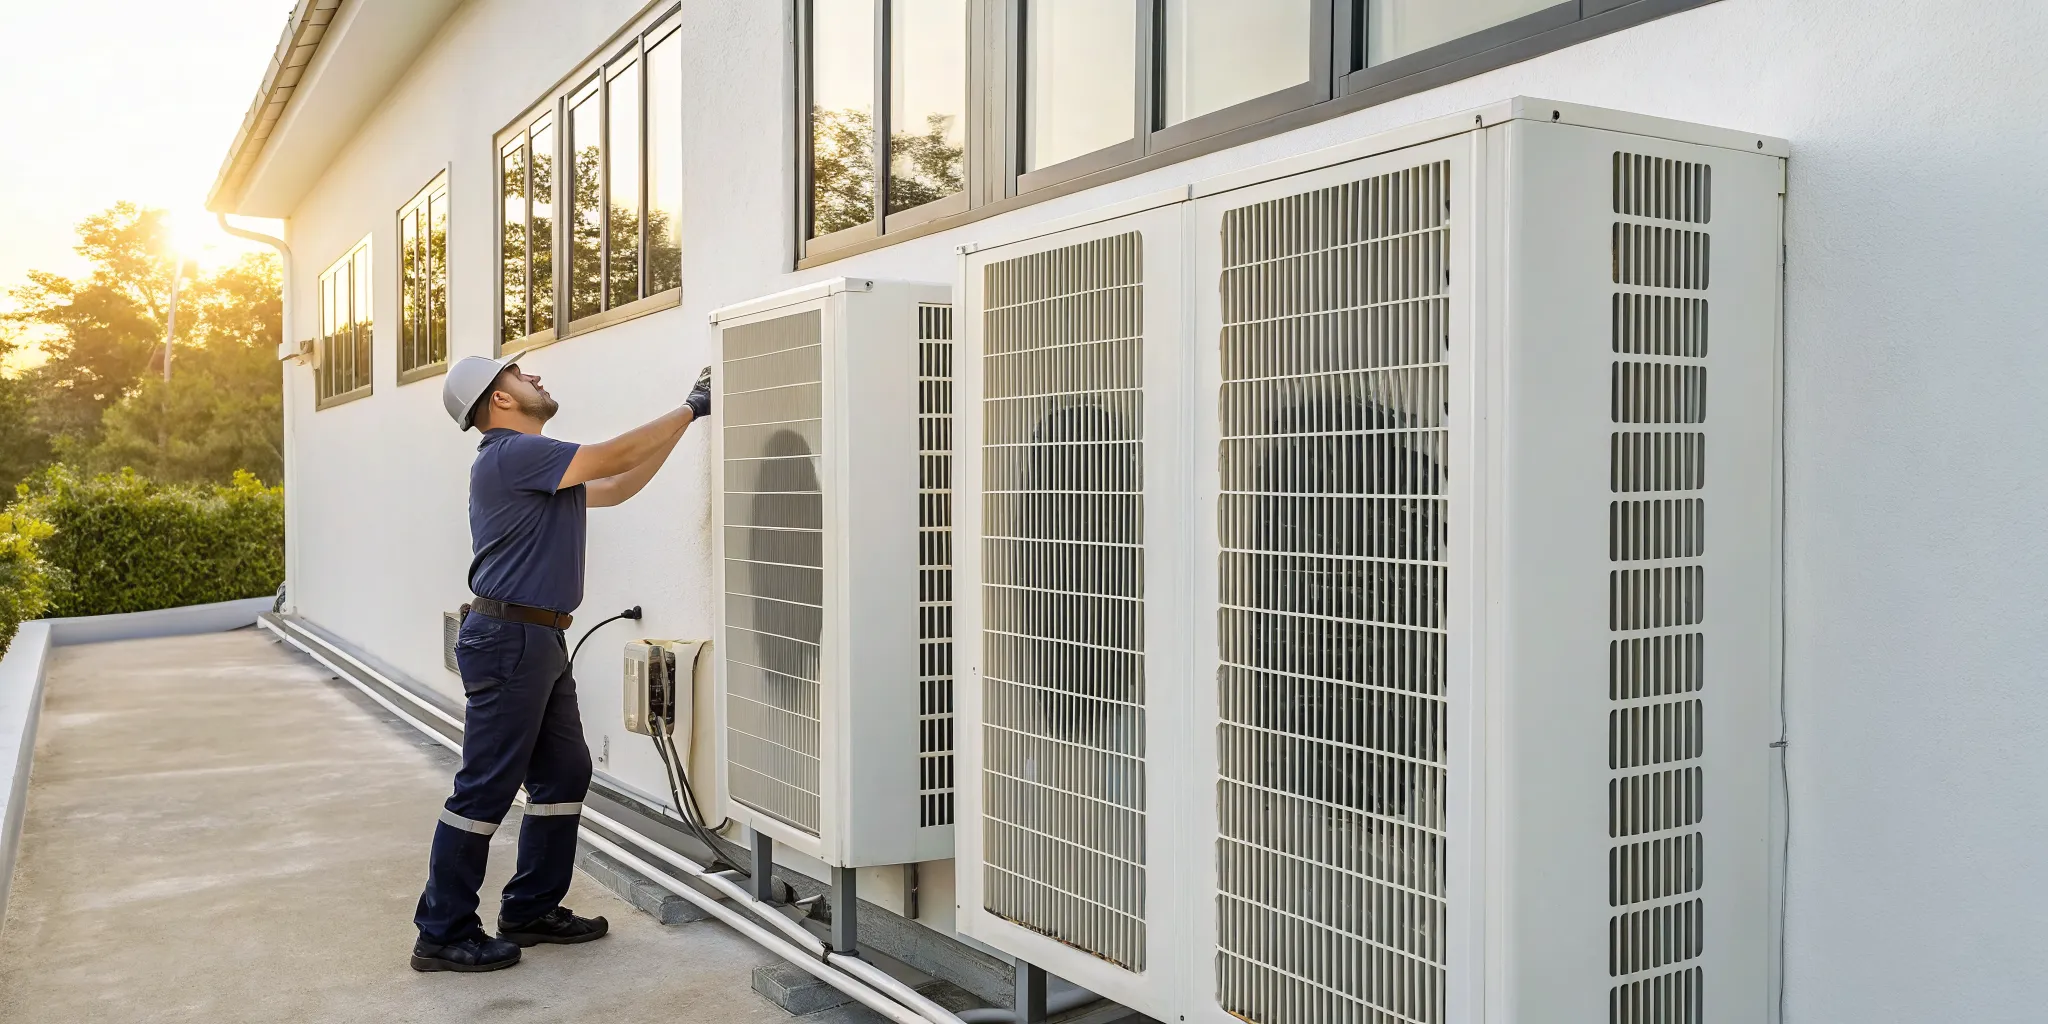
While you might notice the signs of a bad reversing valve, pinpointing it as the source of the problem requires a professional touch. A trained technician has the right tools and knowledge to accurately diagnose the issue without guesswork. This process involves a few key steps to ensure they identify the real problem before starting any repairs, saving you time and money. It's a methodical approach that protects your system from further damage and ensures you only pay for the work you truly need.
Testing Voltage with a Multimeter
One of the first things a technician will do is check the electrical signal to the reversing valve. Using a tool called a multimeter, they will test the solenoid, which is the part that tells the valve to switch. It needs a 24-volt signal to move into cooling mode. If the multimeter shows no voltage when your thermostat is set to cool, it points to an electrical issue, like a problem with the thermostat or wiring, rather than a mechanically failed valve. This simple test prevents a technician from replacing a part that isn't actually broken and is a key part of any professional HVAC service.
Inspecting the System's Wiring
If the voltage test comes up short, the next logical step is to inspect the wiring. Your technician will carefully trace the low-voltage wires that run from your indoor thermostat all the way to the outdoor unit. They are looking for any signs of damage, such as frayed wires, loose connections, or corrosion, which is common here in the Corpus Christi climate. A break anywhere along this path can stop the signal from reaching the reversing valve, preventing it from switching modes. Finding and fixing a simple wiring issue is much less involved than a full valve replacement for your heating system.
Measuring Temperatures at the Valve
Beyond electrical tests, a pro will also use temperature readings to see what’s happening inside the valve. They will use a specialized thermometer to measure the temperature of the different copper lines connected to the reversing valve. In a properly working system, certain lines should be hot and others should be cool, depending on whether you're in heating or cooling mode. If these temperatures are off, for instance, if a line that should be cool is hot, it’s a strong indicator that the valve is stuck and not directing refrigerant flow correctly. This is one of the most reliable ways to confirm a mechanical failure within the valve itself.
Confirming the Diagnosis Before Starting Work
A true professional never relies on a single test. Before recommending a repair, they will put all the pieces of the puzzle together: the voltage readings, the condition of the wiring, and the temperature measurements. This comprehensive approach confirms that the reversing valve is indeed the problem. At Tommy Cool Air, our technicians take the time to show you their findings and explain the issue clearly. This commitment to an accurate diagnosis ensures we perform the right repair the first time, getting your system back up and running efficiently.
What Does a Reversing Valve Repair Involve?
If a technician confirms your heat pump’s reversing valve is faulty, the next step is a repair. This isn’t a quick fix; it’s a detailed procedure that requires specialized tools and certified expertise. Think of it as minor surgery for your HVAC system. A professional ensures every step is done correctly to get your heat pump running efficiently again without causing further damage. This is a job where precision matters, from handling refrigerant safely to making sure every connection is perfect.
Understanding the process can give you peace of mind and help you know what to expect when our team arrives. Our technicians at Tommy Cool Air are fully trained to handle this complex repair, making sure your system is in good hands from start to finish. Here’s a look at the four main steps involved in replacing a heat pump reversing valve.
Step 1: Recover Refrigerant and Shut Down the System
Before any work can begin, the technician will shut off all power to your heat pump. This is a crucial safety measure. Next, they will handle the refrigerant. Your heat pump uses this special fluid to move heat, and it’s held under pressure within a closed loop. For the repair, all of this refrigerant must be safely pumped out and stored in a recovery tank. This prevents it from escaping into the atmosphere, which is important for protecting the environment and complying with EPA regulations. Our certified technicians have the right equipment and training to manage this process safely and responsibly.
Step 2: Remove the Old Valve
With the system powered down and the refrigerant recovered, the technician can now remove the faulty valve. The reversing valve is connected to several copper tubes that carry the refrigerant. To detach it, the technician uses a high-temperature torch to carefully melt the solder at these connection points, a process called unsoldering. This requires a steady hand and precision to avoid overheating and damaging nearby components of your heat pump. Once all the connections are loose, the old valve can be carefully lifted out of the unit, making way for the new part.
Step 3: Install the New Valve
Next, the new reversing valve is set into place. The technician will then braze, or solder, the new valve onto the copper lines to create strong, leak-proof seals. During this process, a skilled technician will flow nitrogen through the pipes. This might sound technical, but it’s a critical quality step that prevents soot and other contaminants from forming inside the copper lines from the high heat. This attention to detail ensures the inside of your system stays clean, which helps your heat pump run efficiently for years to come. It’s one of the many ways we ensure our heating services are done right.
Step 4: Recharge and Test the System
Once the new valve is securely installed, the job isn't quite finished. The technician will use a vacuum pump to remove all air, moisture, and any remaining nitrogen from the system. This step is vital because any moisture left inside can lead to corrosion and major system failures down the road. After creating a deep vacuum, the technician recharges the system by adding the exact amount of refrigerant specified by the manufacturer. Finally, they will power the system back on and test it in both heating and cooling modes to confirm the new valve is working perfectly. If you think your heat pump needs this kind of expert attention, don't hesitate to contact us.
Why Reversing Valve Repair Is Not a DIY Job
I love a good DIY project as much as anyone, but when it comes to certain parts of your heat pump, it’s best to leave the work to a professional. The reversing valve is a perfect example. This isn't like changing a filter or clearing debris from your outdoor unit; it's a complex repair that sits at the heart of your HVAC system. Attempting to fix it yourself can easily go wrong, leading to more extensive damage, costly mistakes, and even safety hazards.
The entire process requires specialized knowledge of refrigeration cycles, electrical systems, and high-pressure lines. A small mistake, like an improper weld or incorrect refrigerant charge, can turn a straightforward repair into a complete system failure. Before you grab your toolbox, it’s important to understand what this job truly involves and why calling for professional heating system repair is the smartest, safest, and most cost-effective choice. Our team is trained to handle these intricate repairs, ensuring your system gets back to running efficiently without any added risk.
Requires EPA Certification for Refrigerant
One of the biggest reasons this isn't a DIY job is the refrigerant. Your heat pump’s refrigerant is a federally regulated chemical, and only EPA-certified technicians are legally allowed to handle it. The repair process involves safely recovering the existing refrigerant from the system before the old valve can be removed. It can't just be released into the air; doing so is illegal and harmful to the environment. After the new valve is installed, the technician must pull a vacuum to remove moisture and contaminants before recharging the system with the precise amount of refrigerant. This requires specific equipment and expertise that homeowners simply don't have.
High Risk of Damaging Your System
Your heat pump is a finely tuned machine, and the reversing valve is connected to several delicate copper lines. Replacing it involves a process called brazing, which is essentially welding the new valve into place at extremely high temperatures. If this isn't done perfectly, you can cause a refrigerant leak, which will stop your system from heating or cooling and lead to another expensive service call. Even worse, you could accidentally damage the new valve or other nearby components in the process. A simple slip-up can quickly compromise your entire air conditioning system, turning a single part replacement into a much bigger problem.
The Cost of a Misdiagnosis
What seems like a faulty reversing valve could actually be a problem with your thermostat, a wiring issue, or a faulty solenoid coil. If you misdiagnose the problem, you could spend hundreds of dollars on a new valve you don't even need. A professional technician will perform a thorough diagnosis to confirm the reversing valve is the true culprit before starting any work. This prevents you from wasting money on unnecessary parts and ensures the actual root cause of the issue is fixed correctly the first time. Given that a new valve can cost between $400 and $700, a correct diagnosis is critical.
Needs Specialized Tools
Replacing a reversing valve requires more than just a standard wrench set. Professionals use a range of specialized tools, including a refrigerant recovery machine, a vacuum pump, a micron gauge, manifold gauges, and brazing torches. These tools are expensive and require training to use safely and effectively. Without them, it’s impossible to properly recover the refrigerant, remove all moisture from the system, or ensure the new valve is installed without leaks. Attempting the job with the wrong equipment is a recipe for system damage and poor performance.
A Pro Can Spot Other Issues
When one of our certified technicians works on your system, they aren't just focused on swapping out a single part. They’re trained to look at the bigger picture. While replacing the reversing valve, they can inspect the entire system for underlying issues that may have caused the valve to fail in the first place. For example, they can measure temperatures around the valve and check its electrical components to confirm the diagnosis. This holistic approach helps identify and address other potential problems, preventing future breakdowns and ensuring your heat pump runs reliably for years to come.
How Much Does Reversing Valve Repair Cost?
When your heat pump acts up, one of the first questions that comes to mind is, "How much will this cost to fix?" It’s a fair question, and knowing what to expect can help you make a clear-headed decision. The cost of a reversing valve repair isn't set in stone, but we can break down the typical expenses and the factors that influence the final price you'll see on an invoice.
Average Cost for Parts and Labor
On average, you can expect a reversing valve replacement to cost between $400 and $700. This range typically includes the price of the new valve itself and the skilled labor required to install it. Since this repair involves handling refrigerant, it requires a certified technician with specialized tools, which is factored into the cost. Keep in mind that this is a general estimate. The final price can fluctuate based on your specific situation and location, but this gives you a solid starting point for what to budget for the repair.
What Affects the Final Price?
Several things can influence the total cost of your reversing valve repair. The specific model of your heat pump plays a big role, as some valves are more expensive or harder to source than others. The complexity of the job also matters; if the valve is in a tight, hard-to-reach spot, the labor time might increase. Local labor rates in the Corpus Christi area will also affect the final bill. When you get a quote for a heating system repair, a professional technician will assess these factors to give you an accurate and transparent price before any work begins.
Repair vs. Replace: Making the Right Choice
Sometimes, the question isn't just about repairing the valve but whether it's the right move for your system's age and condition. If your heat pump is over 10 years old, investing several hundred dollars into a single part might not be the most cost-effective solution. An older unit is more likely to have other components fail soon. In these cases, it might be smarter to put that repair money toward a new, more efficient heat pump system. A trusted technician can help you weigh the pros and cons, so you can get a professional assessment and make the best long-term financial decision for your home.
Protect Your Heat Pump for the Long Haul
After dealing with a repair, the last thing you want is another one right around the corner. The best way to keep your heat pump running smoothly is to focus on prevention. Think of it as setting your system up for success. A little proactive care can make a huge difference in your heat pump's performance and lifespan, helping you avoid the stress of unexpected breakdowns and costly fixes. In a place like Corpus Christi, where we rely on our AC for so much of the year, having a dependable system isn't just a luxury; it's essential for your family's comfort. Taking these simple steps will protect your investment, keep your energy bills in check, and give you peace of mind knowing your home will stay comfortable no matter the season.
Schedule Regular Professional Maintenance
Think of your heat pump like your car; it needs regular tune-ups to perform its best. We recommend scheduling professional maintenance twice a year, once in the spring to prepare for summer and again in the fall to get ready for winter. During these visits, a technician can clean the coils, check refrigerant levels, and inspect all the electrical and mechanical parts, including the reversing valve. This not only ensures your system runs at peak efficiency, saving you money on energy bills, but it also allows a pro to catch and fix small issues before they turn into major, system-failing problems. Regular heating and cooling service is the single most effective thing you can do to extend the life of your equipment.
Catch Problems Early
Your heat pump will often give you subtle hints before a major part fails. If you notice strange noises, a sudden spike in your energy bill, or inconsistent temperatures, don't wait for the system to quit. Addressing these signs early can be the difference between a simple adjustment and a complex repair. For homeowners with modern systems, technology can lend a hand. For example, some Trane smart thermostats have diagnostic features that allow a technician to remotely monitor your system's health. This can help us spot trouble, sometimes even before you notice anything is wrong, ensuring your comfort is never compromised.
The Benefits of a Maintenance Membership
Let's be honest, life gets busy, and it’s easy to forget about scheduling HVAC maintenance. That’s where a maintenance plan can be a lifesaver. Our membership program is designed to make system care effortless for you. We handle the scheduling reminders, so you don’t have to think about it. Membership includes regular tune-ups, filter changes, and system inspections, which helps keep your heat pump in top condition and your warranty valid. Plus, members often receive benefits like priority service and discounts on repairs, so if a problem does pop up, you get a fast, affordable solution. It’s the simplest way to ensure your system gets the consistent care it needs.
Get Expert Heat Pump Repair in Corpus Christi
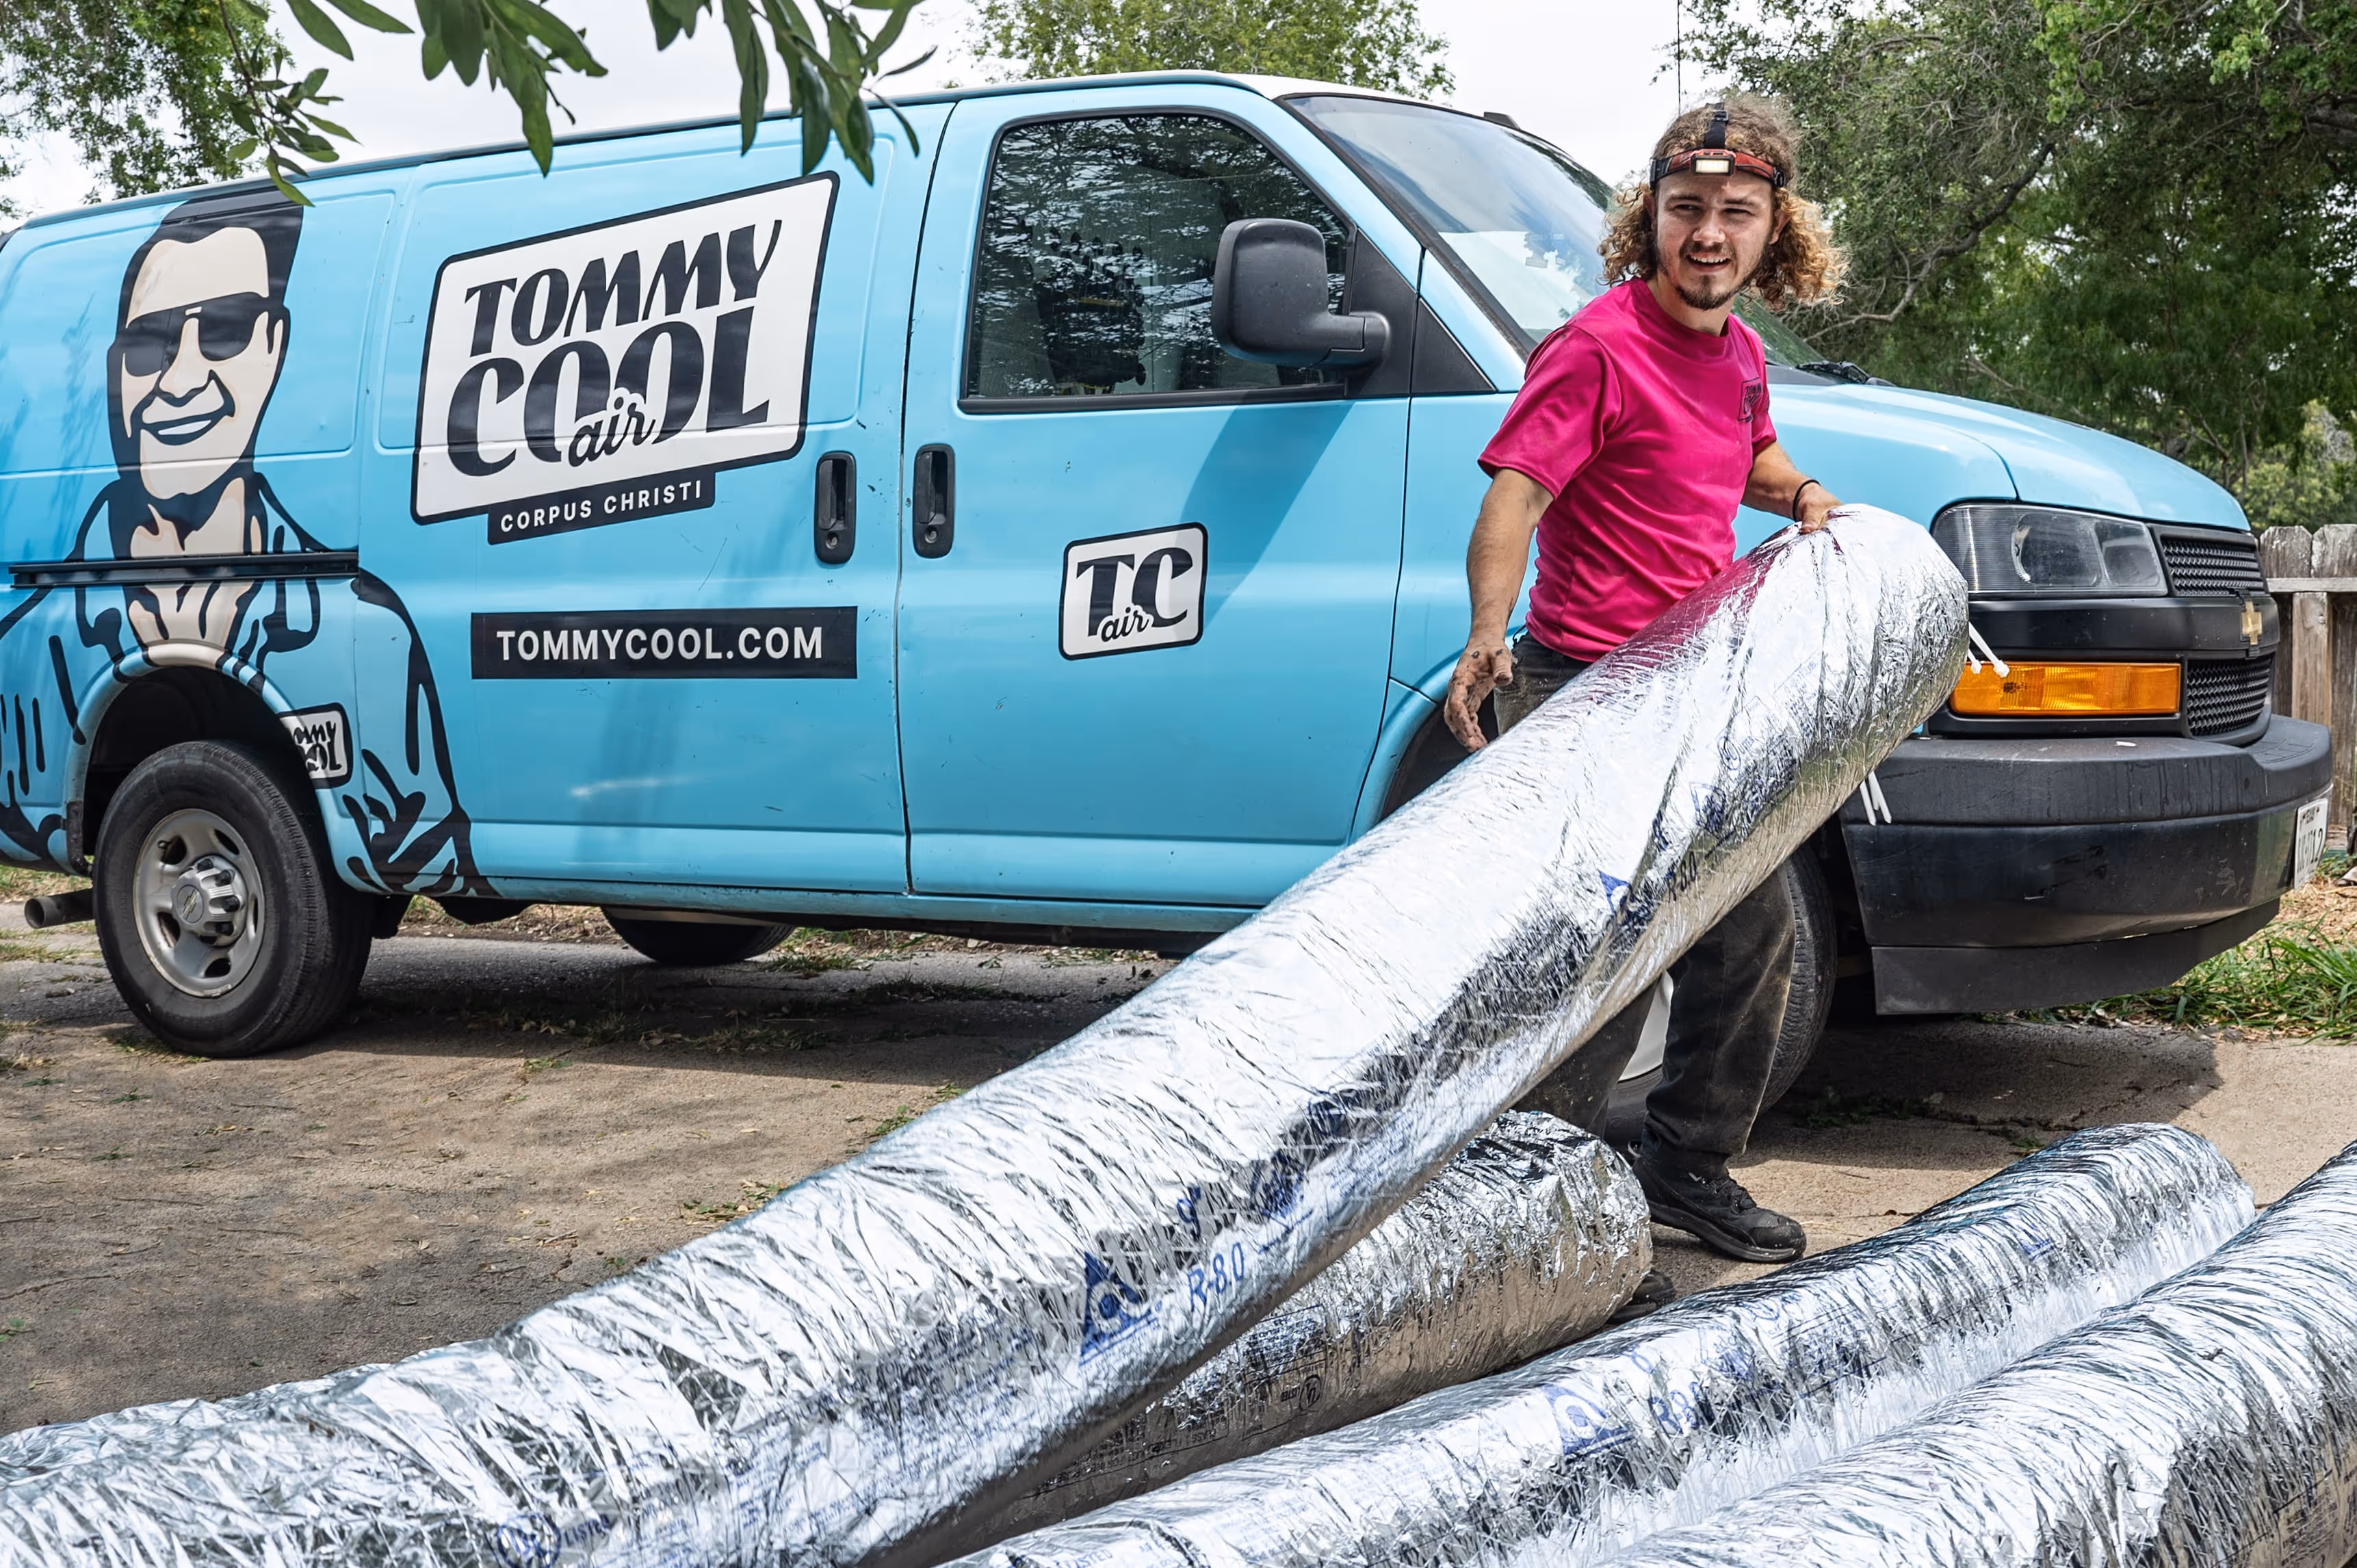
If you suspect your heat pump’s reversing valve is on the fritz, your best move is to call a professional. While it can be tempting to try a DIY fix, replacing a reversing valve is a complex job that requires special skills and tools. The process involves safely handling refrigerant, which is regulated and requires EPA certification. A small mistake can lead to bigger system damage or a costly misdiagnosis. It’s a task where experience truly matters, and our team at Tommy Cool Air has the training to handle it correctly and safely.
Here in Corpus Christi, you need a reliable team you can trust to get your home comfortable again, fast. At Tommy Cool Air, our technicians have extensive experience with all types of air conditioning services, including tricky reversing valve replacements. We understand the local climate and how hard your system works year-round. We’re committed to providing honest diagnostics and clear explanations, so you know exactly what’s wrong and what your options are. We’ll assess the situation and determine if a repair is the best route or if a replacement makes more sense for your budget and long-term comfort.
Don’t let a faulty valve leave you sweating in the summer or shivering in the winter. We’ll give you a straightforward quote before any work begins, so there are no surprises. Our goal is to provide a lasting solution that restores your peace of mind. If your heat pump is acting up, contact the experts at Tommy Cool Air today to schedule a service call and get your system running smoothly again.
Related Articles
- Heat Pump Repair & Installation in Corpus Christi, TX | Tommy Cool Air
- Heating Services | Corpus Christi, TX | Tommy Cool Air
- Emergency Heating in Corpus Christi, TX | Tommy Cool Air
- Broken Furnace: Repair It or Replace It? | Tommy Cool Air
- 20 Common Problems Requiring Emergency Furnace Repair and How to Prevent Them | Tommy Cool Air
Frequently Asked Questions
Is a failing reversing valve considered an emergency? While it isn't a safety emergency like a gas leak, a broken reversing valve means you've lost either your heating or your cooling. In the middle of a Corpus Christi summer, a lack of air conditioning is a serious comfort and health issue that needs immediate attention. Even if the weather is mild, running a system with a faulty valve puts a lot of strain on other components, like the compressor, and drives up your energy bills. It's best to get it fixed as soon as you notice a problem.
Can a reversing valve be repaired, or does it always have to be replaced? The reversing valve itself is a sealed part, so if it has failed mechanically, it cannot be repaired and must be replaced. The repair process involves a technician swapping the old, broken valve for a new one. Sometimes, the problem isn't the valve itself but the small electrical part that controls it, called a solenoid. In that case, only the solenoid might need replacing, which is a simpler job. A professional diagnosis is the only way to know for sure what needs to be done.
How long does it take to replace a reversing valve? The entire replacement process, from safely recovering the refrigerant to testing the system after the new valve is installed, typically takes a trained technician a few hours. The exact time can vary depending on the specific model of your heat pump and how easy it is to access the valve within the outdoor unit. Our technicians work efficiently to get your system back up and running as quickly as possible.
Will regular maintenance guarantee my reversing valve won't fail? While no part can last forever, regular professional maintenance is the best way to extend the life of your reversing valve and your entire heat pump. During a tune-up, a technician cleans the system, checks for proper refrigerant levels, and inspects electrical connections. This reduces overall strain on the system, which helps all components, including the reversing valve, operate correctly for longer. It allows a professional to catch potential issues early before they cause a complete breakdown.
My heat pump is over 10 years old. Is it worth paying to replace the reversing valve? This is a great question, and it depends on your situation. If your heat pump is older and has had other issues, investing several hundred dollars in a new reversing valve might not be the most economical choice. You could fix this one part only to have another expensive component fail a few months later. In many cases, it makes more financial sense to put that repair money toward a new, more reliable, and energy-efficient system. We can help you compare the cost of the repair to the long-term benefits of a replacement.