A small puddle of water near your furnace is more than just an annoyance—it’s a warning sign. When your AC’s condensate can’t drain properly, you're looking at damaged floors, ruined drywall, and even fried electronics in your HVAC system. A condensate pump is a small, affordable device that offers powerful protection against this kind of water damage. Taking on this project is a smart investment in your home’s health. This guide provides a clear, step-by-step roadmap for your air conditioner drain pump installation, helping you safeguard your property from future issues.
Key Takeaways
- A drain pump is essential for certain AC setups: You need a condensate pump if your indoor AC unit is in a basement or any location where gravity can't naturally drain the moisture away. Its safety switch is a vital feature that shuts off your system to prevent water damage from overflows.
- Focus on safety and placement during installation: If you tackle this project yourself, always turn off the power at the circuit breaker first. For the pump to work correctly, it must be placed on a level surface below the AC's drain pan and have its overflow switch wired properly.
- Simple maintenance prevents big problems: Keep your pump running efficiently by cleaning the reservoir and lines with vinegar every so often to prevent clogs. If you're ever unsure about the electrical work or local codes, calling a professional is the smartest move to protect your home and your warranty.
What Is an AC Drain Pump and Do You Need One?
As your air conditioner works to cool your home, it naturally pulls moisture from the air. This moisture, called condensate, collects in a drip pan and typically flows out through a drain line. But what happens when the drain line is higher than the AC unit? That’s where an AC drain pump, also known as a condensate pump, comes in. This small but mighty device collects the water and actively pumps it out to a proper drain, preventing it from overflowing and causing water damage to your home and HVAC system.
Think of it as a safety net for your cooling system. If your indoor AC unit is installed in a basement, attic, or closet where a gravity-fed drain isn't possible, a condensate pump is essential. It ensures that water is removed efficiently, protecting your property from leaks, mold growth, and costly repairs. Properly functioning drainage is a key part of our comprehensive air conditioning services, and a condensate pump is often the perfect solution for tricky installations. It’s a simple component that plays a huge role in keeping your system running smoothly and your home dry. Without one in the right situation, you risk not only damage to your floors and walls but also to the sensitive electronic components of your furnace or air handler.
How Does an AC Drain Pump Work?
A condensate pump is a fairly simple machine. It consists of a small reservoir to collect water, a float switch, and a motor. As water from your AC’s drip pan fills the reservoir, the float inside rises. Once the water reaches a certain level, the float activates a switch, which turns on the pump’s motor. The motor then pushes the water out through a tube to a nearby drain. The most important feature is the safety switch. This switch is wired directly into your HVAC system's control circuit. If the pump fails or the water level rises too high for any reason, the safety switch will automatically shut off your air conditioner. This prevents the system from producing more condensation, saving you from a potential water disaster.
When Is a Drain Pump Necessary?
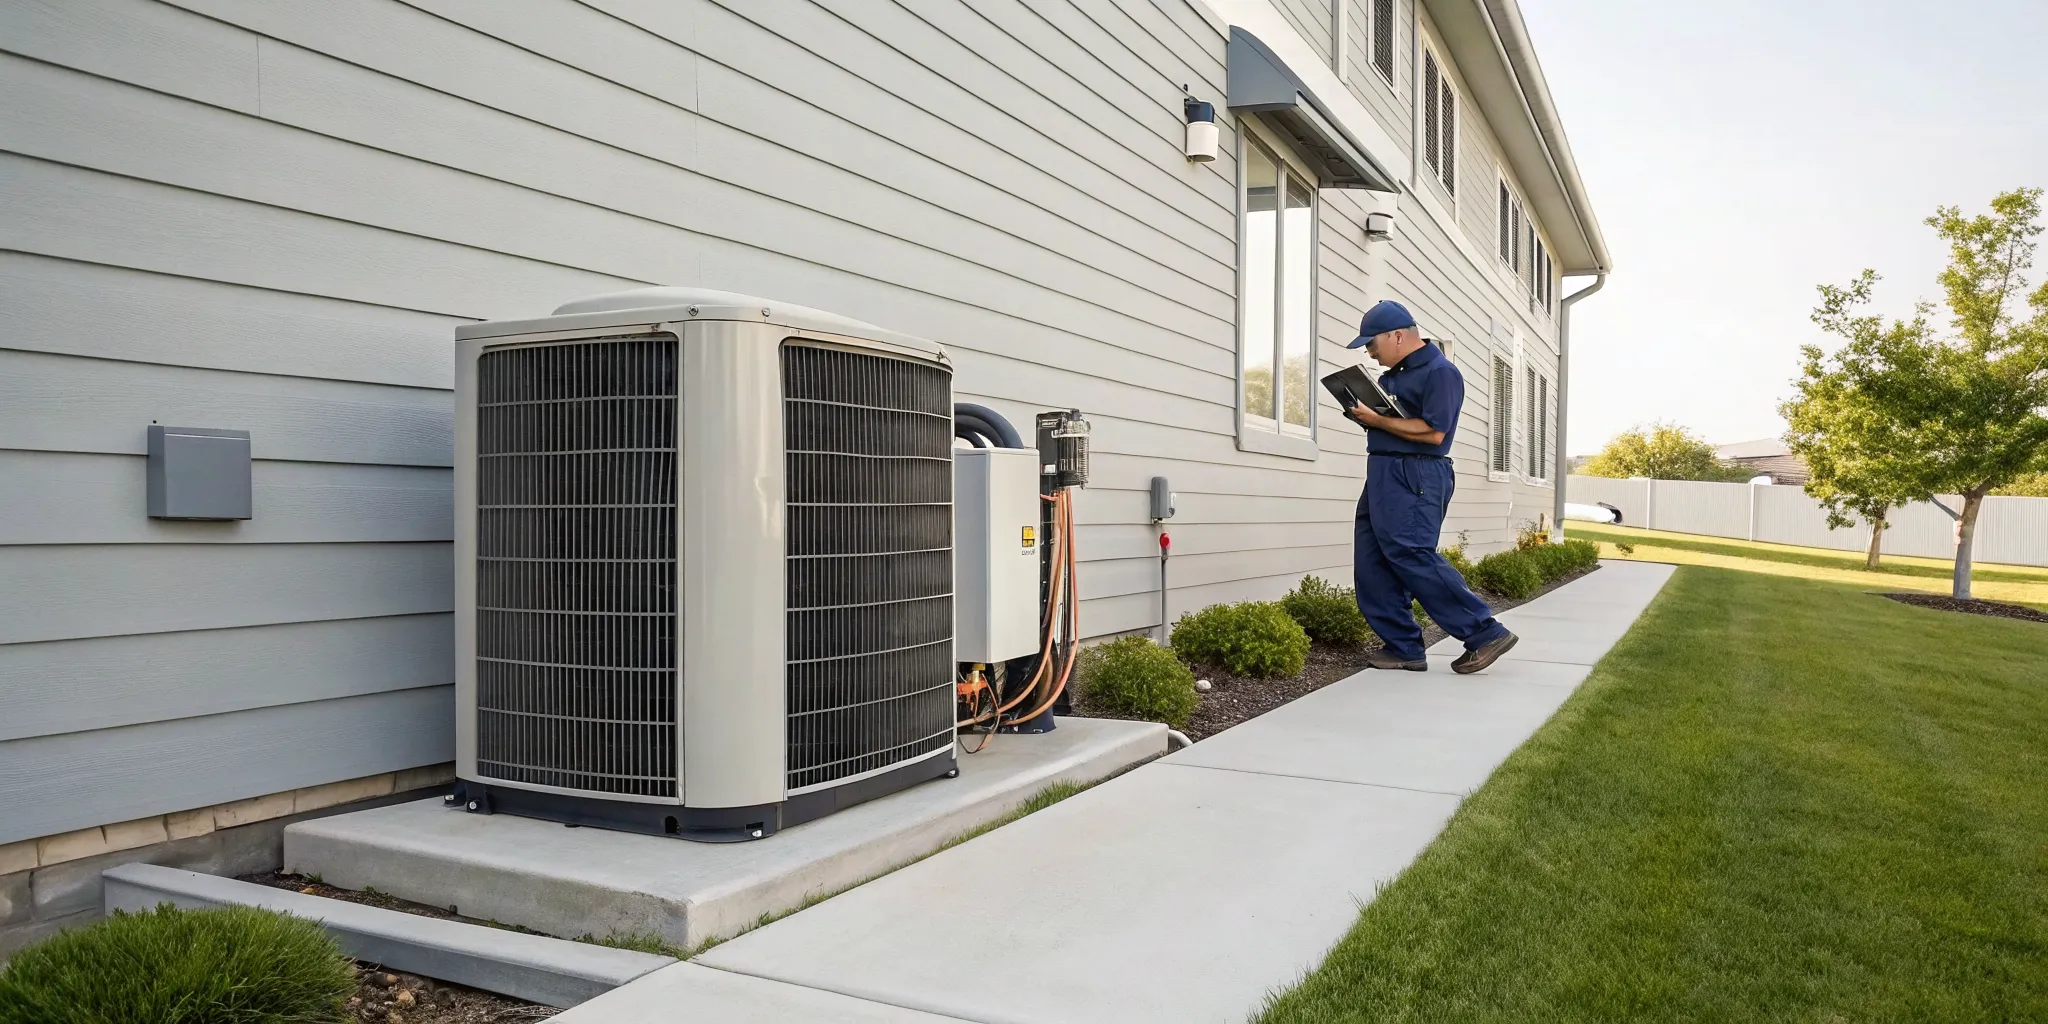
You’ll need a condensate pump anytime your AC system can't drain water on its own using gravity. This is a common situation in many homes, especially if your indoor air handler is located below the level of the nearest drain. For example, if your unit is in the basement, you'll need a pump to push the water up and out of your home. Other scenarios include installations where the drain is far away, requiring the water to travel a long horizontal distance, or when the drain pipe has to go up and over an obstacle. Without a pump, the water would simply sit in the drain pan, eventually overflowing. Our team can assess your system and determine if a pump is the right solution for your home’s specific heating and cooling configuration.
Telltale Signs You Need a Drain Pump
The most obvious sign you might need a drain pump, or that your current one has failed, is standing water around your indoor AC unit. If you notice puddles or water stains, it’s a clear red flag that condensate isn't draining properly. You might also hear a gurgling sound from the unit or notice a musty smell, which can indicate trapped moisture and potential mold growth. Another common issue is a clogged drain line, often caused by a buildup of algae and dust. If your AC system shuts off unexpectedly on a hot day, it could be the pump's safety switch doing its job because of a clog or pump failure. If you spot any of these signs, it's best to contact a professional to diagnose the problem.
Common Types of Drain Pumps in Your Home
While this guide focuses on your air conditioner, it’s helpful to know that drain pumps are working hard all over your house. The basic idea is always the same: move water from a low point to a higher one where it can flow away into your home’s main drainage system. You might have several types of these pumps without even realizing it. Understanding how they work in different applications can give you a better appreciation for the job your AC condensate pump does. From keeping your basement dry to making sure your dishwasher drains properly, these devices are unsung heroes of a functional home. Each type is designed for a specific task, but they all share the common goal of preventing water damage and keeping things flowing smoothly.
Sump Pumps for Basements and Crawlspaces
If you have a basement or crawlspace, a sump pump is your first line of defense against flooding. These powerful pumps sit in a specially constructed pit, or "sump," at the lowest point of the space. When groundwater levels rise and water starts to fill the pit, a float switch activates the pump, which then pushes the water out and away from your home's foundation. Installing a sump pump is a key step to protect your home from water damage, especially in areas with heavy rainfall or high water tables. While major flooding isn't as common in Corpus Christi as in other regions, a sump pump provides invaluable peace of mind by safeguarding your property's structural integrity and preventing a damp environment where mold could grow.
Appliance Pumps for Washers and Dishwashers
You might be surprised to learn that some of your hardest-working appliances have their own built-in drain pumps. Your washing machine and dishwasher both rely on a small internal pump to get rid of dirty water at the end of a cycle. When you hear that whirring sound as your washer drains, that’s the pump in action, pushing wastewater up and out through a hose into your home’s drainpipe. If your top-load washing machine suddenly stops draining, a broken drain pump is often the culprit. These pumps are essential for modern convenience, ensuring that used water is removed efficiently so your clothes and dishes come out clean.
Basement Sink and Laundry Tray Pumps
Similar to an AC condensate pump, a laundry tray or utility sink pump handles drainage for fixtures located below the main sewer line. If you have a utility sink in your basement for laundry or a bar sink in a finished cellar, you can't rely on gravity to drain it. A special pump is installed directly under the sink to collect the wastewater and pump it up to the main drain. These pumps are compact, efficient, and make it possible to have functional plumbing fixtures in otherwise challenging locations. It’s the same core principle as the AC pump: collect water in a small reservoir and pump it out when it reaches a certain level.
Choosing the Right Drain Pump for Your Home
Now that you know a bit more about the different types of pumps, let's get back to the one for your AC system. Selecting the right condensate pump is crucial for it to work effectively and reliably. It’s not a one-size-fits-all situation. The right pump needs to be powerful enough to handle the amount of moisture your AC produces, especially during our hot and humid Texas summers, and strong enough to lift it to the designated drain. Choosing an undersized pump can lead to it running constantly, wearing out prematurely, or failing to keep up, which defeats the whole purpose of having one. Taking the time to evaluate your specific needs will ensure you invest in a pump that protects your home for years to come.
Pump Selection Criteria
When choosing a condensate pump, the two most important factors to consider are its capacity and lift height. Capacity is measured in gallons per hour (GPH) and should be matched to your AC unit's size and output. A larger AC system will produce more condensate and require a pump with a higher GPH rating. The second factor is lift height, which is the maximum vertical distance the pump can move water. A drain pump can typically lift water up to 14 feet straight up, but you need to measure the distance from the pump to the drain to ensure you choose a model with adequate power. You should always pick a pump that is strong enough for your system's needs to ensure it operates efficiently without being overworked.
Key Features to Look For
Beyond capacity and lift, there are a few key features that separate a good pump from a great one. First and foremost, never buy a pump without a safety switch. This feature is non-negotiable, as it’s what shuts down your AC system to prevent an overflow if the pump fails. Another critical component is a built-in check valve, which stops water from flowing back into the reservoir after the pump shuts off. Also, consider the noise level, as some models are significantly quieter than others—an important factor if your indoor unit is near a living area. Finally, look for a durable housing and a reservoir that’s easy to access for cleaning. Our team can help you find a pump with the right features for your air conditioning system.
Planning Your Installation Project
Once you’ve selected the perfect condensate pump, it’s time to plan the installation. Proper setup is just as important as choosing the right model. A poorly installed pump can fail to operate correctly, leak, or create a safety hazard. This is a project that requires careful attention to detail, particularly when it comes to the electrical wiring and plumbing connections. Before you begin, make sure you have all the necessary tools and materials on hand, and read the manufacturer’s instructions thoroughly. A little bit of planning goes a long way in ensuring a smooth and successful installation, giving you confidence that your home is protected from water damage.
Estimating Project Time and Difficulty
Installing a condensate pump is generally considered a moderately difficult project that requires some basic plumbing and electrical skills. If you’re comfortable cutting PVC pipe and wiring a low-voltage switch, you can likely complete the job in a few hours. However, the most critical and challenging part is correctly wiring the safety switch into your AC unit's control board. An incorrect connection could damage your HVAC system or fail to shut it off during an emergency. If you have any hesitation about the electrical work or are unsure about local building codes, your safest bet is to contact a professional. It’s a small price to pay for the assurance that the job is done right and your home is protected.
Your Drain Pump Installation Toolkit
Like any good project, a successful AC drain pump installation starts with a little prep work. Taking a few minutes to gather everything you need before you start will save you from making multiple trips to the garage or hardware store. It also helps the whole process go much more smoothly and safely. Think of it as setting yourself up for a win. We’ll walk you through exactly what you need to have on hand, from the basic tools to the essential safety gear.
The Tools You'll Need
Ready to get started? Let's make sure your toolbox is stocked. You don't need anything too specialized, and you might already have most of these items. Here’s a quick list of what to grab:
- A drill
- Pipe cutter or saw
- Hose clamps
- Tubing
- A level
- Tape measure
- Electrical tape
- Wire connectors
A level is especially important to ensure your pump and tubing are positioned correctly for proper drainage. Having the right tools makes all the difference in any air conditioning service you perform yourself.
Parts and Materials for the Job
The main component you'll be working with is, of course, the condensate pump. This small but mighty device collects the condensation your AC unit produces and pushes it out to a drain, which is essential when gravity can't do the work. Most pumps come in a kit that includes the pump itself, some initial tubing, and mounting hardware. Before you buy, double-check that the pump you've chosen is the right size and capacity for your specific HVAC system. A properly installed pump is a key part of your overall energy-saving system.
Essential Plumbing Materials
Beyond the pump itself, you'll need a few key plumbing items to create a leak-proof path for the water. The most important is the discharge tubing, which is usually a flexible vinyl hose. Make sure you get the right diameter to fit your pump’s outlet—it’s usually specified in the pump’s manual. You'll also need hose clamps to secure the tubing tightly to the pump and prevent any drips. If you plan to connect the tubing directly into a drainpipe, like under a sink, you might need a specific adapter or fitting to create a proper seal. Getting these connections right is crucial for a successful installation. If you're not comfortable with making these connections, our plumbing services team can ensure everything is set up correctly and to code.
Don't Forget Your Safety Gear
This is the most important step of all. Before you touch a single wire or tube, you must turn off the power to your HVAC system at the circuit breaker. No exceptions! Once the power is off, it’s a good idea to put on a pair of protective gloves and safety glasses. This protects your hands from sharp edges and your eyes from any debris. If you ever feel unsure about a step, especially the electrical parts, it’s always best to contact a professional. Your safety comes first.
Your Pre-Installation Safety Checklist
Before you even think about picking up a tool, let's talk about the most important part of any DIY project: safety. Working with your HVAC system involves electricity and moving parts, so taking a few precautions isn't just a good idea, it's essential. Getting this part right ensures your project goes smoothly and everyone stays safe. Think of these steps as your non-negotiable starting line.
A Quick Guide to Electrical Safety
This is the big one. Your air conditioner is a powerful electrical appliance, and you absolutely must respect that. Your first move is to head to your circuit breaker and switch off the power to your entire HVAC system. Don't just turn off the thermostat; you need to cut the power at the source. If you have a voltage tester, now is a great time to use it on the unit's wiring to confirm there's no current. If you feel even the slightest bit unsure about the electrical side of things, please stop and call a professional. It's always better to be safe, and our team is always ready to handle complex air conditioning services.
The Importance of a GFCI Outlet
Because your AC drain pump installation involves both water and electricity, using the right outlet is a critical safety measure. You should always plug your condensate pump into a Ground Fault Circuit Interrupter (GFCI) outlet. You’ve probably seen these in your kitchen or bathroom; they’re the ones with the little “test” and “reset” buttons. A GFCI outlet is designed to instantly shut off power if it detects an imbalance in the electrical current, which can happen if water comes into contact with the electrical components. This feature is your best protection against a dangerous electrical shock. While the pump’s own safety switch protects your home from water damage, the GFCI protects you. Ensuring proper electrical safety is a key part of maintaining good indoor air quality and a safe home environment.
Why Personal Protective Equipment (PPE) Matters
Personal Protective Equipment, or PPE, might sound like something for a major construction site, but it’s just as important for home projects. For this installation, you’ll want a couple of key items. First, grab a pair of safety glasses. This will protect your eyes from any dust, debris, or unexpected drips. Second, a good pair of work gloves is a must. They’ll protect your hands from sharp edges on the unit or pump and keep them clean from any grime inside the drain lines. It’s a simple step that can prevent a lot of hassle and minor injuries.
Tips for Working Around Your HVAC Unit
Beyond the electrical shut-off and your PPE, a little situational awareness goes a long way. Make sure your work area is clean, dry, and well-lit so you can see what you’re doing and avoid any slips. As we've said, always double-check that the power is off before you touch any part of the system. Recognizing your limits is key to a successful DIY project. If you run into something that seems too complicated or doesn't match the instructions, it’s a good sign to pause. A successful installation is a safe one, from start to finish.
How to Prep Your AC for a Drain Pump Installation
A little prep work goes a long way in making any home project run smoothly, and installing an AC drain pump is no exception. Before you even think about mounting the pump or connecting any tubes, taking a few key steps will set you up for a safe and successful installation. This isn't just about clearing a path; it's about ensuring you're working safely, have everything you need, and are following the right guidelines for your home. Getting these details sorted out first means you'll avoid headaches later and can be confident the job is done right.
Think of it like painting a room. You wouldn't just start rolling paint on the walls without putting down drop cloths and taping the edges, right? The same principle applies here. Properly preparing your workspace and understanding the requirements of the job prevents potential damage to your HVAC system, protects you from injury, and ensures the new pump will function correctly from day one. From handling the electrical components safely to making sure you have the right equipment for your specific air conditioning system, these preliminary checks are non-negotiable. Let's walk through exactly what you need to do to get your AC system ready for its new pump.
First Things First: Cut the Power
First things first: safety. Before you touch any part of your HVAC system, you absolutely must cut the power. Head over to your home's circuit breaker box and find the breaker that controls your air conditioner and furnace. Flip it to the "Off" position. This is the most critical step to prevent electrical shock or damage to your system while you work. Don't just rely on turning the thermostat off. Taking this extra precaution at the source ensures there is no live current running to the unit, giving you a safe environment to begin the installation. It’s a simple action that protects you and your equipment.
Locate the Drain Line and Prep Your Workspace
Next, you'll need to locate the condensate drain line on your indoor HVAC unit. This is where the excess moisture from your AC collects and drains away. The new pump needs to be positioned on a level surface below this drain connection so gravity can help the water flow into it. Once you've found the spot, take a few minutes to clear the area around it. Move any boxes, storage items, or debris out of the way. Having a clean, open workspace will make the installation process much easier and safer, giving you plenty of room to maneuver as you connect the tubing and wiring.
Choose the Right Pump and Check Local Codes
This step might seem like a bit of homework, but it's crucial for a proper installation. Before you buy or install a pump, take some time to check your local building codes for condensate drainage. For example, many areas follow the International Mechanical Code, which specifies that the drain line's inside diameter should be at least 3/4 inch. You also need to make sure the pump you choose is the right size for your AC unit. An undersized pump will struggle to keep up, while an oversized one can be inefficient. If you're unsure about local codes or proper sizing, it's always a smart move to contact a professional for guidance.
Your Step-by-Step Drain Pump Installation Guide
Alright, you’ve done your prep work, and now it’s time for the main event. Installing your AC drain pump involves a few key steps, from mounting the unit to making the final electrical connections. It's a manageable project if you take your time and follow each stage carefully. A steady, methodical approach is always the best way to handle any home improvement task. Remember, your safety and your home’s integrity are what matter most. If you ever feel like you’re in over your head, especially when it comes to the wiring, there is absolutely no shame in putting the tools down. It's always a smart move to contact a professional to ensure the job is done right. Let’s walk through the process together.
Step 1: Mount Your New Pump
First things first, find a good home for your new pump. You’ll want to mount it on a solid, flat surface like the floor, a nearby wall, or a sturdy bracket. The most important rule here is to position the pump lower than your HVAC unit’s drain pan. This simple placement allows gravity to do the initial work, letting the condensate flow easily down into the pump’s reservoir. If the pump is too high, water won’t be able to enter it properly, which defeats the whole purpose of the installation. Once you've found the perfect spot, make sure the pump is securely fastened and sitting level before you move on to connecting any tubing.
Step 2: Connect the Inlet Tubing
Now it’s time to connect the pump to your AC unit. You’ll attach the pump’s flexible inlet tube directly to the drain pipe coming from your HVAC system’s condensate pan. In some cases, you might need to cut the existing PVC drain pipe to fit the tubing. If you do, a helpful tip is to cut it at a slight angle. This can help prevent debris from getting stuck and causing clogs down the line. Once the tubing is in place, use hose clamps to secure both ends of the connection. You want a nice, tight seal here to prevent any frustrating drips or leaks that could cause water damage over time.
Step 3: Run the Outlet Discharge Line
With the inlet connected, your next task is to run the discharge or outlet line. This is the tube that will carry the collected water from the pump to a proper drainage location. You can route this line to a utility sink, a floor drain, or directly outside your home. Before you decide, it's a good idea to check your local building codes for any specific requirements on condensate disposal. A great pro tip is to create a small "trap" (a U-shaped bend) in the line near the pump. This helps the water flow smoothly and can stop unpleasant odors from the drain from making their way back into your home.
Installing a Check Valve and Ball Valve
Installing a check valve and a ball valve on your discharge line is a pro move that can significantly extend the life of your pump. Think of the check valve as a one-way door; it lets water out but prevents it from flowing back into the pump after it shuts off. Without it, that backflow can trick the pump into cycling on and off repeatedly, leading to premature burnout. The ball valve, on the other hand, acts like a faucet, giving you control over the water's exit speed. If the pump pushes water out too fast, it can also cause rapid cycling. By adjusting the ball valve, you can fine-tune the flow rate, ensuring your pump runs smoothly and efficiently for years to come.
Step 4: Wire the Safety Overflow Switch
This step is all about safety and protecting your home. The overflow switch is a brilliant feature that acts as a failsafe if the pump ever stops working. You’ll need to wire this switch into your furnace or air handler’s control circuit. Its job is simple but crucial: if the water level in the pump’s reservoir gets too high, the switch will trip and shut down your entire AC system. This action stops the unit from producing more condensate and prevents a messy, damaging overflow. If you’re not completely comfortable working with your system's wiring, this is the perfect time to call for professional air conditioning services.
Step 5: Make the Final Power Connections
You’re on the home stretch! The last step is to give the pump its power. Most condensate pumps come with four wires: two for the power supply and two for the overflow switch you just connected. The power wires should be connected to a standard 110-120V outlet. Depending on the model, you can either plug it in directly if it has a cord or hardwire it into a nearby junction box. Whichever method you use, ensure every connection is secure and properly insulated with wire nuts to prevent any electrical hazards. Double-check your work, as faulty wiring can be dangerous. Once everything is connected, you're ready to test it out.
How to Test Your New Drain Pump
You’ve mounted the pump, connected the lines, and wired everything up. Great job! Before you put your tools away, there's one last, crucial step: testing your work. This quick check ensures the pump works as it should, preventing any surprise water issues down the road. It’s all about making sure your hard work pays off and your home stays protected from water damage. Taking a few extra minutes now can save you a major headache later.
Manually Run a Test Cycle
Let's give your new pump its first assignment. Grab a pitcher or a small jug of water and carefully pour it into the pump's reservoir through the inlet port. As the water level rises, it will lift the float switch, which should trigger the pump to turn on automatically. You should hear it kick on and see it quickly pump the water out through the drain line. Once the reservoir is empty, the float will drop, and the pump should shut off. This simple test confirms that the pump's motor and switch are working perfectly together.
Check That It's Draining Properly
If the pump passed the first test, that's a great sign. Now, let's do a final check to make sure everything is draining properly. Manually lift the float switch to confirm it moves freely and activates the pump. If the pump doesn't start, double-check that it's plugged in and that you haven't tripped a circuit breaker. Also, take a moment to ensure the pump is sitting level on its surface. Finally, inspect the drain lines for any leaks or sharp kinks that could block water flow. If you run into any issues you can't solve, our team is always here to help with professional air conditioning services.
Common Installation Mistakes (and How to Avoid Them)
Even a seemingly straightforward DIY project can go wrong if you miss a few key details. Installing an AC drain pump is no exception. While it’s a manageable task for many, a few common errors can lead to water damage, system malfunctions, or even complete failure of your new pump. Taking the time to get it right the first time will save you from frustrating (and potentially expensive) headaches down the road.
Think of it like baking: you can have all the right ingredients, but if you forget the baking soda or set the oven to the wrong temperature, you won’t get the result you want. From the angle of the drain line to the placement of the pump itself, small details make a big difference. Let’s walk through the most frequent missteps so you can confidently sidestep them and ensure your installation is a success. If you ever feel unsure, remember that our team is always ready to help with professional air conditioning services.
Mistake #1: Incorrect Overflow Switch Wiring
One of the most critical components of your condensate pump is the safety overflow switch, and failing to wire it correctly is a surprisingly common mistake. This switch is your system's main defense against water damage. If the pump fails or gets clogged, the water level in the reservoir rises and triggers the switch. When wired properly, this switch shuts down your air conditioner, stopping it from producing more condensate and preventing a messy overflow. Skipping this step or wiring it incorrectly leaves your home vulnerable to leaks, water stains, and mold growth. Always double-check the manufacturer’s instructions to ensure this vital safety feature is connected to your AC’s thermostat circuit.
Mistake #2: Forgetting the Drain Line Slope
You might think that since you have a pump, gravity doesn’t matter as much, but that’s not quite true. The drain line running from your AC unit’s drain pan to the condensate pump inlet still needs a slight, consistent downward slope. A line that is too flat or, worse, slopes upward can cause water to sit stagnant or back up into your air handler. This can lead to clogs, leaks, and inefficient pump operation. Aim for a drop of at least one-quarter inch for every foot of horizontal pipe. This gentle slope ensures that condensate flows smoothly into the pump’s reservoir, allowing the pump to do its job effectively without fighting against backed-up water.
Mistake #3: Overlooking Electrical Safety
Working with your HVAC system always involves an element of electrical risk, and it’s something you should never take lightly. Before you touch a single wire, your first and most important step is to turn off all power to your HVAC system at the circuit breaker. This isn't just a suggestion; it's a crucial safety measure to protect you from electric shock and prevent damage to your equipment. Forgetting this step can have serious consequences. If you have any hesitation or are not completely comfortable working with electrical wiring, it’s always best to contact a professional. Your safety is the top priority.
Mistake #4: Choosing the Wrong Pump Location
Where you place your condensate pump matters more than you might think. For the pump to work correctly, it must sit on a level surface and be positioned lower than your HVAC unit's drain connection. This setup allows gravity to feed condensate from the drain pan directly into the pump’s reservoir. If the pump is placed too high, water won’t be able to flow into it easily, which can cause backups and potential overflows. Before you secure the pump, take a moment to find the perfect spot that is both stable and correctly positioned relative to the drain outlet. This simple step ensures efficient operation and helps maintain good indoor air quality by preventing stagnant water issues.
How to Maintain Your AC Drain Pump
Once your drain pump is installed, a little bit of regular maintenance will keep it working efficiently for years to come. Taking just a few minutes each month to check on your pump can prevent clogs, leaks, and unexpected shutdowns, especially during those hot Texas summers when you need your AC the most. Think of it as simple preventative care for your entire cooling system. A failing drain pump can lead to water damage and a system shutdown, which is the last thing anyone wants. These straightforward checks are easy to do and will help you keep your system in top shape, protecting your home and your comfort.
A Simple Monthly Cleaning Routine
Set a reminder on your phone to give your drain pump a quick cleaning once a month. Before you do anything, always unplug the pump from its power source for safety. Then, you can get to work. Take a look at the reservoir, which is the small tank that collects the water, and scrub out any grime or buildup you see. A simple and effective way to clear out dirt and algae is to pour a small amount of distilled vinegar through the drain lines. This quick routine helps prevent the gunk that can lead to clogs and pump failure.
Tips for Preventing Clogs and Buildup
Clogs are the number one enemy of a condensate drain pump. The buildup of slime and algae is often what causes the internal float switch to fail or the drain line to back up, potentially spilling water onto your floor. To stay ahead of this, make a habit of visually inspecting the pump and its tubing. Look for any drips or leaks around the connections and gently tighten any loose fittings. Keeping the reservoir clean is your best defense, as it stops gunk from ever entering the drain lines and causing a blockage in your air conditioning system.
Your Quick Seasonal Checklist
Before you really start to lean on your AC for the season, take five minutes to perform a few simple checks. First, make sure the pump is still sitting level on the floor, as vibrations can sometimes shift it. Next, check the float switch by lifting it gently to ensure it moves freely; this is what tells the pump when to turn on. Finally, confirm the pump is plugged in securely and that the breaker hasn't tripped. A quick scan of the outlet tubing for any kinks or pinches can also save you from a future drainage issue. These small steps are a great addition to any seasonal maintenance routine.
DIY vs. Calling a Pro: When to Make the Call
Even the most ambitious DIY project has a point where it’s smart to call for backup. Installing an AC drain pump can be straightforward, but it involves your home’s most expensive and complex appliance. Recognizing when a task is beyond your skill set isn’t admitting defeat; it’s making a wise decision to protect your investment and your home’s safety. If you find yourself feeling uncertain, especially when dealing with wiring or system integration, it’s the perfect time to bring in an expert. A professional can handle the tricky parts, ensuring everything is installed correctly, safely, and according to local regulations. This not only prevents potential water damage from a faulty installation but also ensures your HVAC system continues to run efficiently for years to come.
If You're Facing Complex Electrical Issues
Let’s be honest: electrical work is not the place for guesswork. The drain pump’s overflow switch needs to be wired directly into your AC system’s control board. An incorrect connection could damage the unit, lead to an electrical short, or simply fail to shut the system off during a clog, causing a water overflow. If you’re not completely comfortable reading wiring diagrams and handling circuits, it’s best to leave it to a trained technician. Our team is experienced with all types of air conditioning services and can get the job done safely, giving you confidence that your system is wired correctly from the start and protecting your home from costly mistakes.
To Protect Your Warranty and Stay Code-Compliant
Beyond safety, there are rules and regulations to consider. Local building codes often specify details like the minimum diameter for drain lines to ensure proper function. An installation that doesn't meet these standards can cause problems down the road. More importantly, a DIY installation that goes wrong could void the manufacturer’s warranty on your HVAC unit or the new pump. A professional installation from a trusted company like Tommy Cool Air guarantees that the work is fully compliant and protects your warranty. It’s a simple step that provides valuable peace of mind and safeguards your equipment for years to come.
Understanding Installation Costs
When you're weighing the benefits of a DIY project versus hiring a professional, cost is always a major factor. For a professional AC drain pump installation, you can generally expect the total cost to range from $500 to $3,000. This price typically includes the pump itself, all the necessary materials like tubing and fittings, and the labor to get it all set up correctly. While that might seem like a wide range, it reflects the different complexities of each job. Think of it as an investment in protecting your home. The cost of a proper installation is a fraction of what you might pay to repair water-damaged floors, drywall, and sensitive HVAC electronics after a leak.
Cost Breakdown for Different Pump Types
Let's break down where that money goes. The condensate pump unit itself can cost anywhere from $150 to over $1,500, depending on its size, power, and features. Labor costs for a standard installation usually fall between $300 and $800. The final price tag is influenced by a few key factors, including the type of pump you need and the complexity of the installation. For example, a job that requires drilling through concrete or running a very long discharge line will naturally take more time and materials. Getting a detailed quote from a trusted professional will give you a clear picture of the costs for your specific air conditioning system.
Who to Hire for Your Drain Pump Installation
Installing a drain pump is one of those jobs where hiring a professional really pays off. It’s a project that sits at the intersection of your home's plumbing and electrical systems, and getting it wrong can lead to serious problems. A professional ensures the pump is installed correctly, the safety switch is wired properly, and everything is up to local code. This isn't just about convenience; it's about making sure the job is done right to provide long-lasting protection against flooding and water damage. Investing in a professional installation gives you the peace of mind that your home and your expensive HVAC equipment are properly safeguarded.
Finding an Experienced Plumber or Contractor
When you're ready to hire someone, look for a licensed plumber or a qualified HVAC contractor with specific experience in condensate management. You want a technician who understands the nuances of how these pumps integrate with different cooling systems. A great way to start is by checking online reviews and asking for recommendations from neighbors. Always make sure the professional you choose is licensed and insured in Texas. This protects you and ensures they are accountable for their work. Don't hesitate to ask about their experience with drain pump installations to feel confident you're hiring the right person for the job.
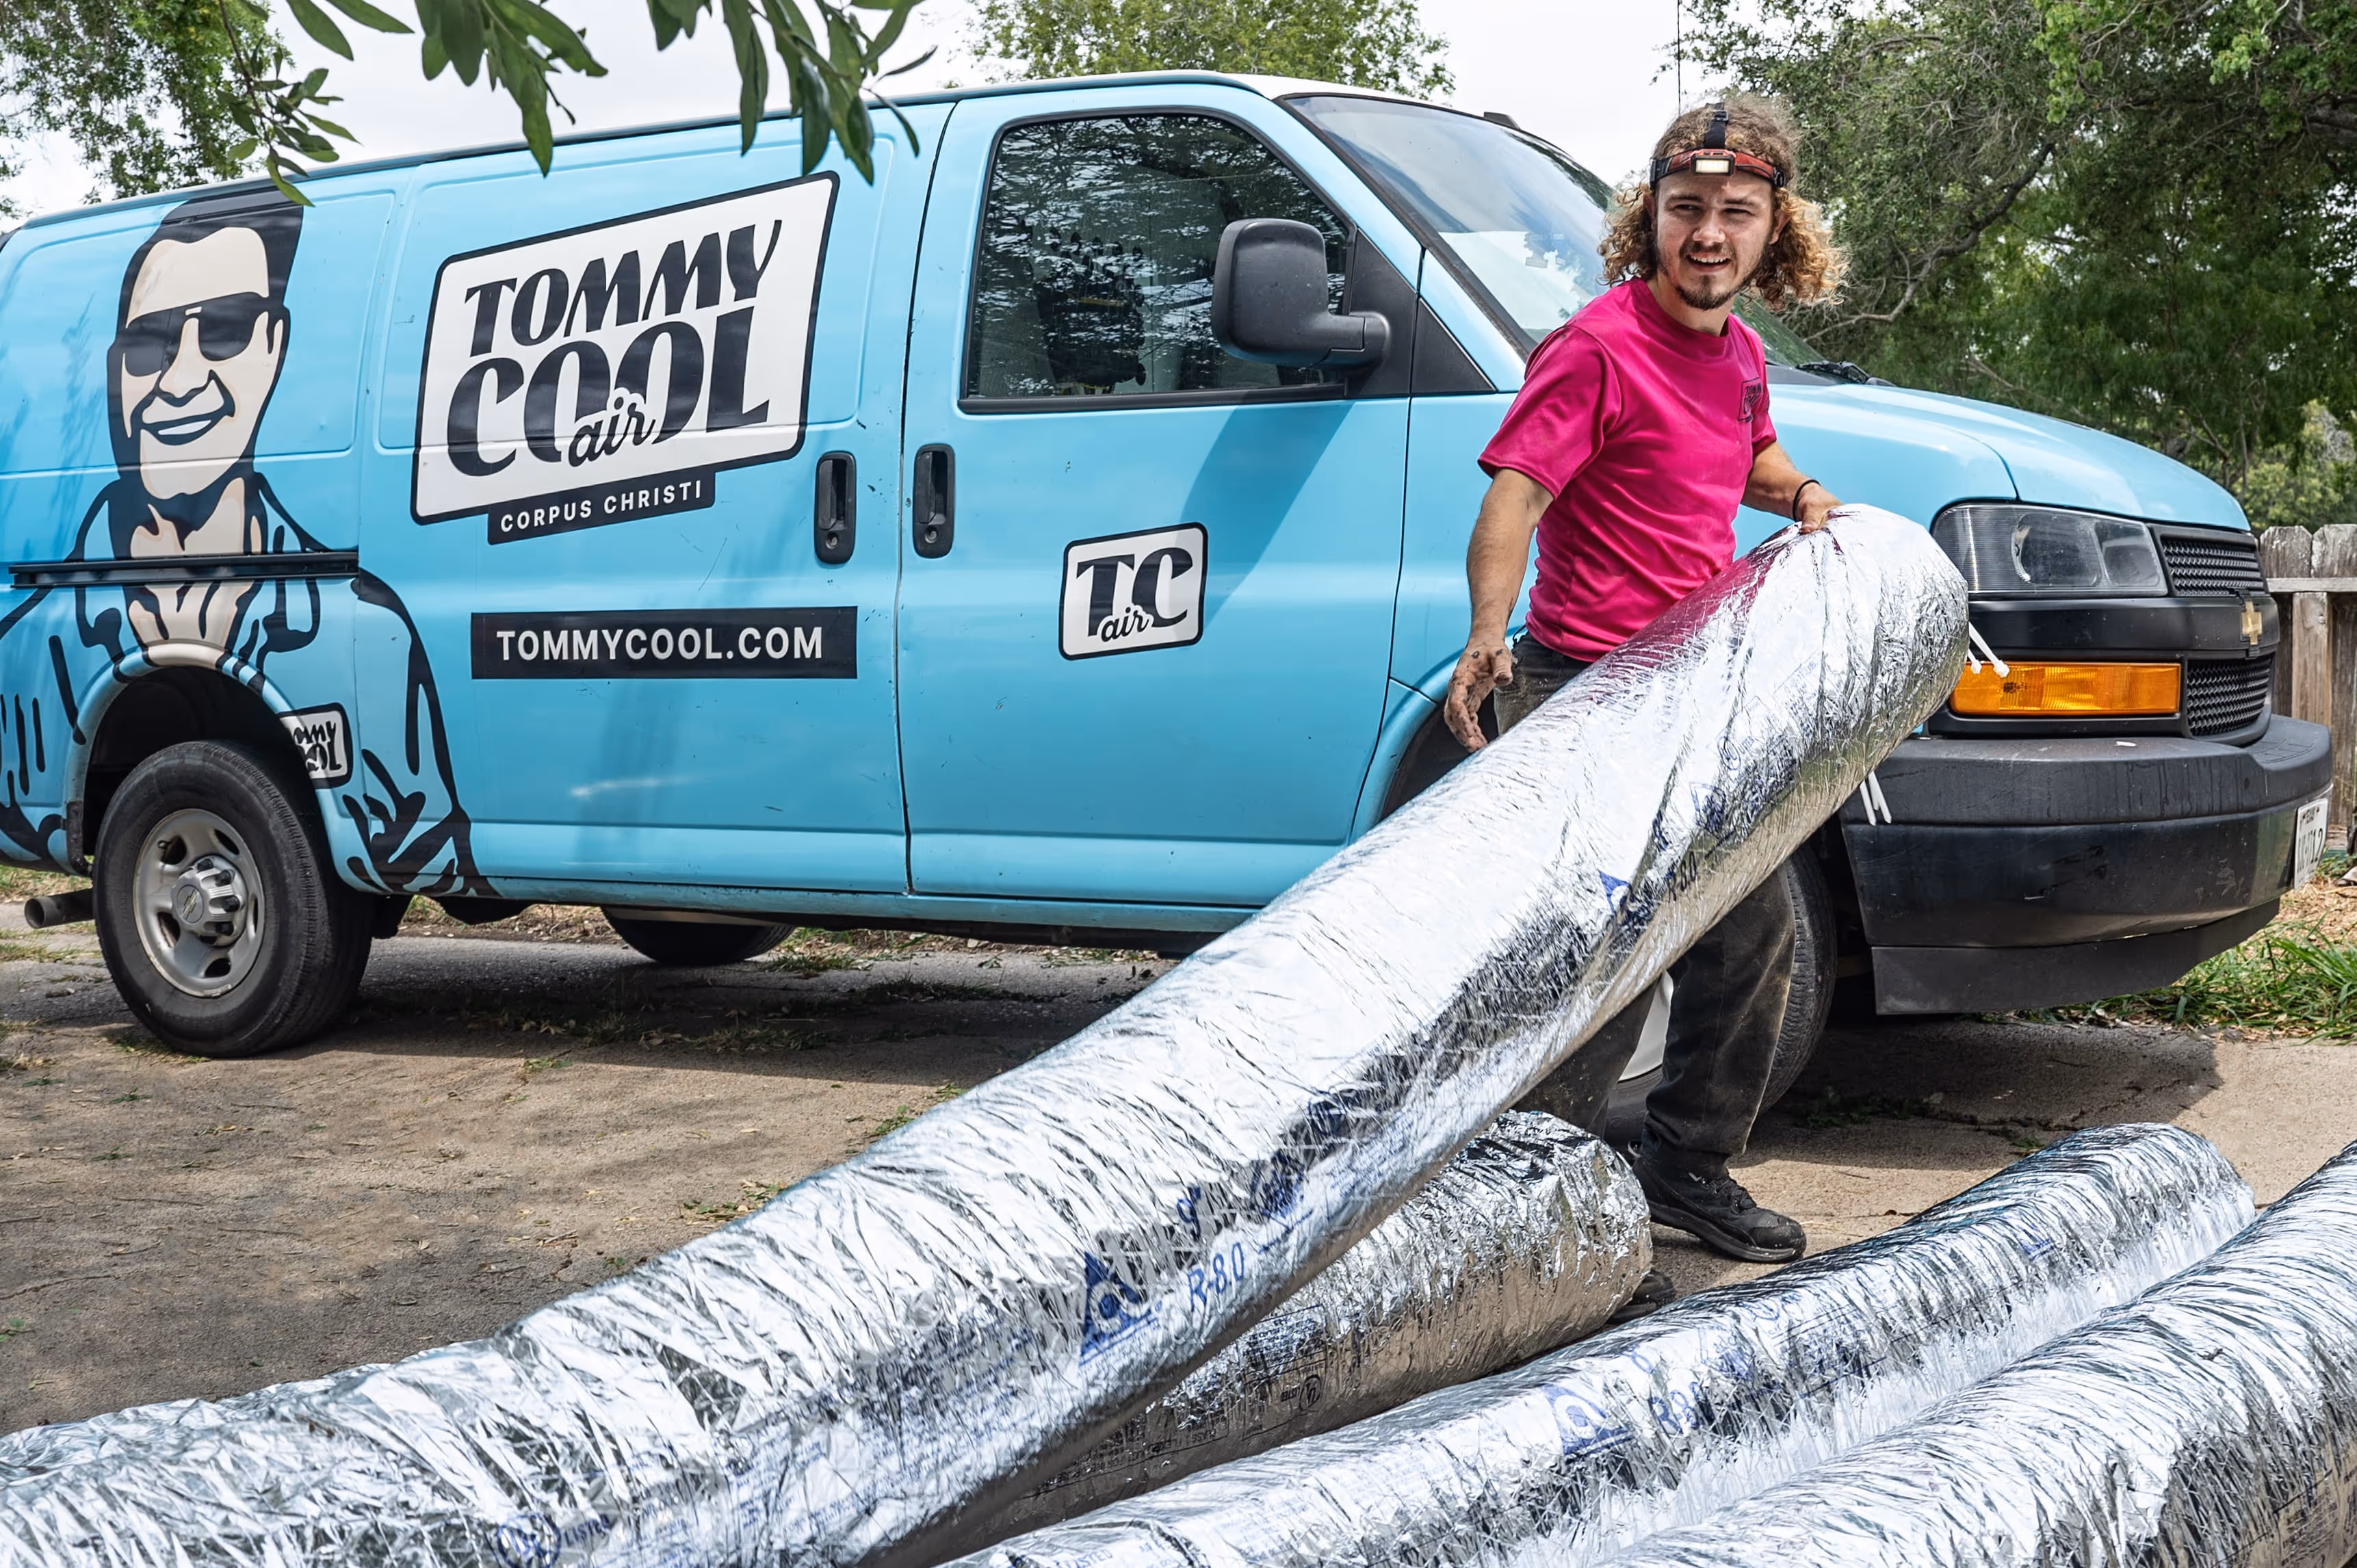
Why Corpus Christi Residents Trust Tommy Cool Air
Here in the Corpus Christi area, homeowners trust our team at Tommy Cool Air because we combine technical expertise with a commitment to doing the job right. Our experienced technicians understand the specific challenges of our local climate and ensure every installation meets the highest standards of safety and quality. When you work with us, you can be confident that your new drain pump will be installed correctly, protecting your manufacturer's warranty and complying with all local codes. We handle the complexities of the installation so you can enjoy the simple peace of mind that comes with a dry, protected home.
Related Articles
- My AC Is Leaking Water | Tommy Cool Air
- AC Tune-Ups & Maintenance in Corpus Christi, TX | Tommy Cool Air
- Heat Pump Repair & Installation in Corpus Christi, TX | Tommy Cool Air
- Running an AC without a filter | Tommy Cool Air
- Can Dog Urine Ruin an AC Unit? | Tommy Cool Air
Frequently Asked Questions
My AC unit is in my basement. Does that automatically mean I need a drain pump? It's very likely, yes. The key is whether the water can flow downhill all the way to a drain. If your indoor unit sits below the nearest floor drain or utility sink, gravity can't do the work on its own. A condensate pump is needed to actively push that water up and out, preventing it from pooling around your unit and causing damage.
What happens if the pump fails? Will my house flood? A properly installed pump has a built-in safety feature to prevent a disaster. The overflow switch, which is wired into your AC's control system, detects when the water level in the pump's tank gets too high. If this happens, it automatically shuts down your air conditioner to stop it from producing more water. So while you won't have cool air, you also won't have a flood.
How often should I really clean the pump? A quick check and clean once a month during the cooling season is a great habit. The main goal is to prevent slime and algae from building up, which is the number one cause of clogs and pump failure. Simply pouring a bit of distilled vinegar into the reservoir can help keep the lines clear and the pump working reliably when you need it most.
Can I just run the pump's outlet tube into a bucket? This is not a safe or sustainable solution. A bucket can overflow quickly, especially on a humid day, leading to the exact water damage you're trying to prevent. It also creates a standing water source, which isn't great for your home's air quality. It's always best to run the outlet line to a permanent, proper drain like a utility sink or a pipe that leads outside.
Is this installation really something I can do myself? If you're comfortable with basic tools and following instructions, mounting the pump and connecting the tubing is a very manageable project. The part that gives most people pause is the electrical wiring for the overflow switch. If you have any hesitation about working with your HVAC system's wiring, it's always the smartest and safest choice to call a professional.