That old thermostat on your wall does its job, but it’s not doing your energy bill any favors. Making the switch to a smart thermostat puts you in complete control of your home’s comfort and can lead to some serious savings. The best part? You don’t always need to hire a professional for the upgrade. For many homeowners, a DIY smart thermostat installation is a straightforward and rewarding project. This guide will walk you through every step, from safely turning off the power to connecting the wires and programming your new, smarter system.
Key Takeaways
- Prioritize safety and documentation before you begin: Always turn off the power at your breaker panel before touching any wires, and take a clear photo of your current wiring setup to use as a guide.
- Your wiring photo is your roadmap for installation: The most critical part of the process is correctly matching each wire from your old thermostat to the corresponding terminal on the new one, using your photo for reference.
- Don't risk a costly mistake with complex wiring: If you encounter issues like a missing C-wire, incompatible system components, or confusing wire labels, it's best to contact an expert to avoid damaging your HVAC system.
How Do Smart Thermostats Work?
A smart thermostat is an upgraded, internet-connected version of your traditional thermostat. Think of it as the command center for your home's heating and cooling system, but with a much higher IQ. The most well-known feature is that you can control it from anywhere using an app on your smartphone, tablet, or computer. Stuck in traffic and want the house to be cool when you walk in? Just open the app and adjust the temperature. It’s that simple.
But the real magic is in the "smart" features. These devices learn your daily routines and temperature preferences over time. They figure out when you typically leave for work, when you get home, and when you go to bed. Some even use your phone's location (a feature called geofencing) to know when you're close to home and when you've left. Using this information, the thermostat automatically creates a schedule to adjust the temperature for you. This means it can lower the AC while you're away to save energy and then start cooling things down right before you arrive, ensuring you always walk into a comfortable home. It’s a key part of modern energy-saving systems that work to keep you comfortable without wasting power.
Why You'll Love a Smart Thermostat
Beyond the convenience of remote control, smart thermostats offer some fantastic benefits. Because they learn your habits, they provide a level of personalized comfort that a standard thermostat just can't match. The system adapts to your lifestyle, not the other way around. Many models also come with helpful features like a temperature lock. This is perfect if you have kids who love to play with the thermostat or if you want to maintain a specific temperature range in a rental property. It gives you complete control over your home's climate, preventing unnecessary energy use and ensuring your settings stay right where you want them.
How Much Money Can You Actually Save?
One of the biggest reasons homeowners switch to a smart thermostat is the potential for significant savings on their energy bills. It’s not just about convenience; it’s about efficiency. By learning your schedule and automatically adjusting the temperature when you're not home, a smart thermostat ensures you aren't paying to cool an empty house. This intelligent scheduling can lead to a noticeable reduction in your monthly heating and cooling costs. Over time, the device can essentially pay for itself through the money it saves you. It’s a simple upgrade that makes your air conditioning services work smarter, not harder.
What You'll Need for Your Smart Thermostat Installation
Before you start unscrewing your old thermostat, it’s a good idea to gather everything you’ll need. A little prep work makes the whole process smoother and safer. Having the right tools on hand means you won’t have to stop midway through to search for a screwdriver. More importantly, taking a few safety precautions is non-negotiable when you’re working with your home’s electrical system.
Grab These Tools Before You Start
You probably have most of these tools in your home already. Here’s a quick list of what to grab before you get started:
- Screwdrivers: You’ll likely need a small Phillips head and a flathead screwdriver to remove your old thermostat and secure the new one.
- Level: A small level will help you mount your new thermostat perfectly straight. It’s a small detail that makes a big difference in how it looks on your wall.
- Drill: If the mounting holes don’t line up, you might need a drill to create new ones for the wall anchors.
- Your phone: Snap a quick picture of your old thermostat’s wiring before you disconnect anything. This photo will be your best friend if you need a reference later.
What to Expect in Your Installation Kit
When you unbox your new smart thermostat, you’ll find that most manufacturers include everything you need to get the job done. It’s a good idea to lay everything out and make sure all the pieces are there before you start. Your kit will almost always include the main thermostat unit, which is the new brain of your system, along with mounting hardware like screws and wall anchors. You'll also find a set of handy wiring labels to help you keep track of which wire goes where—this is super important. Some kits even come with a small screwdriver. If your new thermostat is a different size than your old one, there might be a trim plate included to cover up any old paint lines or holes for a clean finish. Of course, if you open the box and feel a bit overwhelmed by the parts, remember that a professional installation is always an option to ensure your heating and cooling system is set up correctly from the start.
Safety Gear You Can't Skip
Working with wiring can feel intimidating, but a few simple safety steps make all the difference. Your top priority is to prevent any electrical shocks. Before you touch a single wire, head to your breaker panel and turn off the power to your heating and cooling system. This is the most important step, so don’t skip it. If you open up your old thermostat and the wiring looks like a tangled mess, or if you feel even slightly unsure about what you’re doing, it’s always best to call a professional. Your safety is worth more than a DIY project, and we’re always here to help with the installation.
Prepping for Your Smart Thermostat Installation
Before you even think about unscrewing your old thermostat, a little prep work can make the entire installation process a breeze. Taking a few minutes to get organized will save you from potential headaches and ensure your new smart thermostat works perfectly from the start. Think of it as setting yourself up for success. These three simple steps are your foundation for a smooth, safe, and successful DIY installation. If you follow them carefully, you'll be enjoying your new smart home upgrade in no time.
How Long Does Installation Take?
You might be surprised at how quickly you can get your new smart thermostat up and running. For most homeowners, the entire installation process takes about 15 to 30 minutes. It’s one of those home upgrades that delivers a big impact with a relatively small time commitment. Most smart thermostat kits are designed for easy DIY installation, and their companion apps provide clear, step-by-step instructions to guide you. As long as your wiring is straightforward, you can typically complete the job with just a screwdriver. The process generally involves removing the old unit, mounting the new plate, connecting the wires according to the photo you took, and snapping the new thermostat into place. It's a quick project that sets you up for long-term energy savings and convenience.
First, Cut the Power to Your HVAC
First things first: safety. Before you touch a single wire, you absolutely must turn off the power to your heating and cooling system. Head to your home's breaker panel and find the switch that controls your HVAC system. It should be clearly labeled. If it’s not, you can turn off the main breaker to be extra safe. This step is non-negotiable, as it protects you from electrical shock and prevents damage to your equipment. Always turn off the power to your entire heating and cooling system at the breaker panel before you start working. Double-check that the power is off by trying to adjust your old thermostat; if it doesn't light up or respond, you're good to go.
How to Be Sure the Power Is Off
Flipping the breaker is the first step, but you'll want to double-check before you start working with any wires. After you’ve turned off the power at the breaker panel, head back to your old thermostat. Try to adjust the temperature up or down. If the display lights up or you hear your system click on, the power is still live. A completely dark and unresponsive screen is what you're looking for. This simple check is a crucial part of a safe installation and ensures you won't get an unexpected shock or accidentally damage your HVAC equipment. Taking this extra minute for verification gives you the peace of mind to move forward with the project confidently.
Next, Take a Picture of Your Wires
Once the power is off, your next mission is to become a detective. Before you disconnect anything, take a clear photo of your old thermostat's wiring. This picture will be your roadmap for connecting the new device. As an extra precaution, use the little stickers that often come with your new thermostat to label each wire before you detach it. This simple action prevents a confusing guessing game later on. Remember, the goal is to replicate the exact wiring setup on your new thermostat's baseplate. Having a clear photo and labeled wires makes this part of the job practically foolproof.
Will It Work? Check Your HVAC Compatibility
One of the most common mistakes people make is buying a smart thermostat that isn't compatible with their HVAC system. Before you get started, confirm that your new device will work with your home's setup. Check the thermostat's packaging or the manufacturer's website for compatibility details. Some systems, especially older ones, may not have a C-wire (common wire), which many smart thermostats need for continuous power. Verifying compatibility beforehand saves you from the frustration of a failed installation. If you're unsure about your system, it's always a good idea to contact a professional for advice.
Warning: High-Voltage Systems
Here’s a critical safety check: most smart thermostats, including popular models from Nest, are designed for low-voltage (24V) systems. They absolutely do not work with high-voltage systems. You can often identify these by looking for labels like "120V" or "240V" or by spotting thick wires connected with wire nuts. Attempting to install a smart thermostat on a high-voltage system isn't just a compatibility issue; it's a serious safety risk that can lead to equipment damage or electrical shock. If you see any of these signs, stop the installation immediately. These systems require professional handling, so it's the perfect time to give an expert a call to ensure the job is done safely and correctly.
Warning: Stranded Wires
Another compatibility issue to watch for is stranded wires. Smart thermostats, like the Nest, do not work with them. Unlike solid core wires, which are a single, sturdy piece of copper, stranded wires are made of many thin threads twisted together. While common in other electrical applications, they can cause unreliable connections for a smart thermostat, leading to power issues or faulty performance. If you remove your old thermostat and find that the wires are stranded instead of solid, don't try to force a connection. For a secure and effective installation, you'll need the right wiring. This is another one of those situations where calling a professional for your heating system installation can save you a lot of future trouble.
Installing Your Smart Thermostat, Step by Step
Ready to get hands-on with your home's comfort system? Installing a smart thermostat is a fantastic weekend project that can make a real difference in your daily routine and energy bills. While it might seem a bit technical, it's totally manageable if you follow the steps carefully. Think of it as a simple puzzle where you're just swapping out an old piece for a new, much smarter one. This guide will walk you through each part of the process, from taking off your old unit to powering up your new one. Let's get started.
Pro Tip: Use the Manufacturer's App
When you unbox your new smart thermostat, don't overlook the manufacturer's app—it's often your most valuable tool for the installation. Many brands provide dedicated apps that offer interactive, step-by-step instructions tailored to your specific model. For example, some apps will ask you to identify the wires from your old system and then generate a custom wiring diagram, showing you exactly where each one connects on the new device. This feature alone can eliminate most of the confusion and potential for error. Using the app also streamlines the setup process, guiding you through connecting to Wi-Fi and configuring your initial settings, so you can start taking advantage of all the smart features right away. You can find detailed installation guides, like this one for the Google Nest thermostat, directly on the manufacturer's support page.
Step 1: Remove the Old Thermostat
First things first, let's get that old thermostat off the wall. Most faceplates either pop right off with a gentle pull or are held in place by a small screw. Once it's off, you'll see the wiring connected to the backplate. Before you touch a single wire, stop and grab your phone. Take a clear picture of the current wiring setup, making sure you can see which color wire goes into which labeled terminal. This photo is your most important tool for this project; it’s the map you’ll use to connect your new device correctly.
Secure the Wires
With the old thermostat gone, you’ll see a small bundle of colorful wires peeking out of your wall. Your first job is to make sure they stay there. There’s nothing more frustrating than having a wire slip back into the wall cavity, turning a simple project into a major headache. To prevent this, you can gently wrap the wires around a pencil or use a piece of painter's tape to secure them to the wall. Now, grab your phone and pull up that photo you took of the old wiring. This picture is your single most important guide for the rest of the installation, ensuring every wire finds its correct new home.
Next, you’ll connect these wires to the new thermostat's backplate. Look at your photo to match each colored wire to the corresponding terminal label (like R, C, G, Y, etc.). Most smart thermostats use a simple push-and-release system. Just press down on the small lever next to the terminal, insert the bare copper end of the wire all the way in, and then release the lever. Give the wire a gentle tug to make sure it’s secure. If you notice any of the wires look frayed or damaged, it might be a good time to pause and call for professional help with your installation to avoid any issues down the line.
Step 2: Install the New Baseplate
With the old thermostat removed, it's time to mount the new baseplate. Carefully guide the bundle of wires through the opening in the center of the new plate. Before you secure it to the wall, grab a small level to make sure it's perfectly straight. A crooked thermostat can be a constant visual annoyance, so taking a moment to get it right is well worth the effort. Once you're happy with the placement, use the provided screws to attach the baseplate firmly to the wall. It should feel snug and secure, ready for the next step.
Use a Screwdriver, Not a Drill
When you're ready to secure the new baseplate, you might be tempted to reach for your power drill to get the job done quickly. My advice? Stick with a simple screwdriver. A drill delivers a lot of torque, and it's incredibly easy to overtighten the screws without realizing it. This can crack the plastic baseplate or, even worse, damage the delicate electronic components housed within it. Using a screwdriver gives you the control you need to tighten the screws until they are snug and secure, without applying excessive force. This small change in your process can save you from a costly mistake and a major headache.
This isn't just a friendly tip; it's a rule straight from the manufacturers. For instance, Google explicitly warns users to "Use a screwdriver, not a power drill, to attach the Nest base to the wall" in their official installation guide. They know that a drill can easily damage the base, which is the foundation for your entire smart thermostat. Taking a few extra moments to do it by hand protects your new investment and ensures everything is installed correctly. It’s a simple precaution that makes a huge difference in the long-term performance and durability of your device.
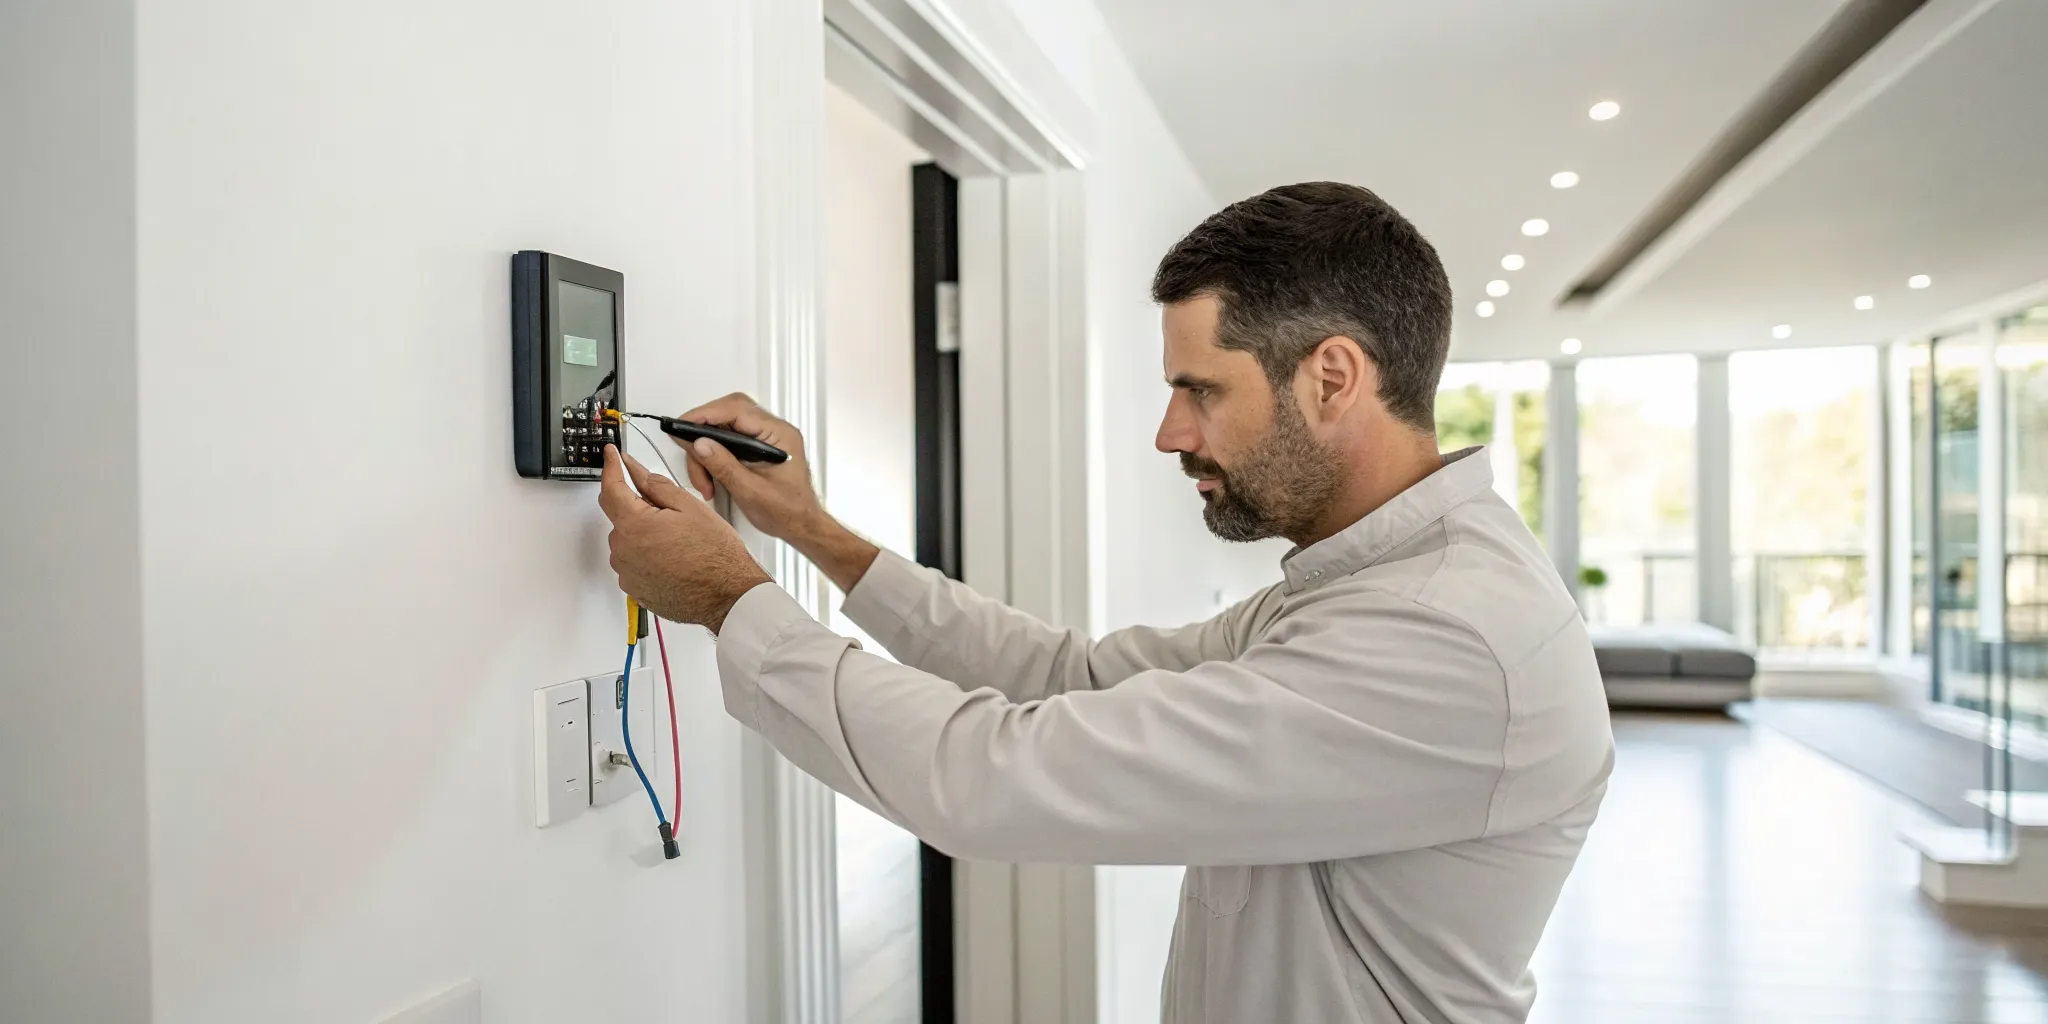
Step 3: Connect the Wires
Now, refer back to that photo you took. Your goal is to match each wire to the corresponding terminal on the new baseplate. The labels (like R, C, G, Y, and W) should be similar, but always double-check with the manufacturer's instructions included with your new thermostat. Many smart thermostats have easy-to-use connectors; you might just need to press a small button to insert the wire. Make sure each wire is inserted fully and feels secure in its terminal. A loose connection is a common cause of problems, so give each one a gentle tug to be sure.
A Note on Jumper Wires
As you inspect your old thermostat's wiring, you might spot a "jumper wire." This is a short wire that connects two terminals, often linking the R and RC terminals. These were common in older thermostats to bridge different power sources. However, most modern smart thermostats are designed with internal jumpers, so you won't need this little wire anymore. Simply remove the jumper wire from your old thermostat's backplate and set it aside; you won't be using it for the new installation. Your new thermostat's manual will confirm this, but it's a common point of confusion that's easy to solve.
Label Wires by Terminal, Not Color
This is one of the most important tips for a successful installation: label your wires based on the terminal they connect to, not their color. While there are common color codes, they aren't universal, and the previous installer might not have followed them. The only thing that matters is the letter on the terminal (like Y, W, G, or C). Before you disconnect a single wire, use the small stickers included with your new thermostat to label each one. If a blue wire is in the Y terminal, label it "Y." This ensures you connect everything correctly to the new baseplate, preventing damage to your heating system.
Prepare and Straighten Wires
After years of being connected to your old thermostat, the wires coming out of your wall might be bent at sharp angles. The new terminals on your smart thermostat require straight, clean wire ends to make a solid connection. Take a moment to inspect each wire. If the copper ends are bent, use a pair of needle-nose pliers to gently straighten them out. You want about 3/8 of an inch of exposed, straight copper to insert into the new connectors. A clean, secure connection is essential for your thermostat to function properly, so this small step makes a big difference in preventing future issues with your air conditioning.
Step 4: Attach the Faceplate and Restore Power
You're on the home stretch! With the wires connected, it's time to attach the new smart thermostat faceplate to the baseplate. It should click satisfyingly into place. Now, head back to your breaker box and flip the power back on for your HVAC system. Your new thermostat should light up and begin its startup sequence. This is the moment of truth! Once it's on, you can begin the on-screen setup. Congratulations, you've just installed your smart thermostat and are on your way to better comfort and potential energy savings.
Ran Into a Wiring Problem? Here's What to Do
Wiring is often the most intimidating part of installing a smart thermostat. It’s where a simple DIY project can suddenly feel like a complex puzzle. The good news is that most wiring issues are quite common, and you can troubleshoot many of them with a little patience. From missing wires to confusing connections, these are problems that many homeowners run into.
However, it’s important to know your limits. While some fixes are straightforward, thermostat wiring connects directly to your HVAC system’s main control board. Making a mistake can lead to bigger problems. If you ever feel uncertain or the issue seems more complicated than a simple reconnection, it’s always best to pause and call a professional. Your home’s heating and cooling system is a major investment, and it’s worth protecting.
No C-Wire? Here's What to Do
The C-wire, or "common wire," provides a continuous flow of power to your smart thermostat, keeping its screen on and Wi-Fi connected. Many older homes don't have one connected. If you remove your old thermostat and don’t see a wire in the "C" terminal, you might have an unused one tucked into the wall. You can also check your indoor HVAC unit to see if a blue wire is available but not connected to the common terminal. Without a C-wire, your new thermostat may not function correctly. While some thermostats come with power adapter kits, installing one can be tricky. For a safe and reliable connection, having a professional run a new wire is your best bet.
How to Fix Incorrect Wire Connections
One of the most frequent installation hiccups is pairing the wrong wire with the wrong terminal. This is why taking a clear photo of your old wiring setup is so crucial. Different brands use different labels, and what was labeled "W" on your old unit might correspond to "W1" on the new one. Refer back to your photo and the new thermostat’s manual to ensure every wire goes to its correct home. If the labels are unclear or the wires are not color-coded traditionally, it can get confusing fast. If you’ve double-checked everything and your system still won’t turn on, it’s a good sign that it’s time to get in touch with an expert.
What to Do About Loose or Corroded Wires
Over time, the copper ends of your thermostat wires can corrode or become loose, hindering the electrical flow to your HVAC system. This can cause your system to operate intermittently or not at all. When you have the baseplate off, take a moment to inspect the wires. Do they look brittle, frayed, or have greenish or whitish buildup on the exposed ends? If so, you may need to turn the power back off, carefully snip the damaged ends, and strip a fresh section of wire for a clean connection. If the corrosion seems extensive or the wiring appears damaged further into the wall, it’s best to have a professional handle the HVAC repair.
Do You Have a Two-Wire System? What to Know
If you open your old thermostat and only see two wires, you likely have a heat-only system. These simple two-wire setups are common in older homes but often lack the necessary connections for a modern smart thermostat, which typically requires more wires to control functions like cooling and the fan. Most importantly, these systems almost never have a C-wire. Trying to install an advanced smart thermostat on a two-wire system without modification is a common mistake that can lead to a non-functional device. Before you go any further, it’s wise to consult with an HVAC professional to discuss your options for a system upgrade or to find a compatible thermostat.
Finishing Up: How to Set Up and Test Your Thermostat
You’ve done the hard part, and your new smart thermostat is on the wall. Now it’s time for the final steps: getting it connected, testing your system, and programming it to fit your life. This is where you really start to see the benefits of your upgrade. Let’s walk through how to get everything running perfectly.
First, Connect to Wi-Fi and Choose Your Settings
With the faceplate snapped on, head back to your breaker box and turn the power back on. Your new thermostat should light up. The next step is to download the thermostat’s companion app on your smartphone. The app will guide you through the final setup, which includes connecting the device to your home’s Wi-Fi network. Just follow the on-screen prompts to select your network and enter the password. Once connected, you can start exploring the settings. You can set initial temperature preferences and begin creating a schedule that helps you manage your home’s climate and contributes to more energy-saving systems.
Next, Test Your Heating and Cooling
Before you get too deep into programming, it’s smart to make sure everything is working correctly. First, test the cooling. Set the thermostat to "cool" and lower the temperature a few degrees below the current room temperature. You should hear your AC kick on within a minute or two and feel cool air coming from the vents. Next, test the heat. Switch the mode to "heat" and raise the temperature a few degrees above the room’s temperature. Again, you should hear the system start and feel warm air. If either function doesn’t work, it’s a good idea to turn the power off and double-check your wiring. If you’re unsure, our team is always here to help with your heating and cooling needs.
Finally, Program Your Schedules
Now for the fun part. Use the app to program schedules that match your family’s routine. You can set different temperatures for when you’re home, away, or asleep to maximize comfort and savings. If your thermostat isn’t powering on or connecting to Wi-Fi, the most common issue is the C-wire. Make sure it has a solid connection at both the thermostat and your HVAC unit’s control board. If you’re still having trouble, it could be a weak Wi-Fi signal in that area of your home. For any persistent issues you can’t solve, don’t hesitate to contact our experts. We can make sure your system is set up for optimal performance.
Troubleshooting: What if It Doesn't Turn On?
You’ve connected the last wire, snapped the faceplate on, flipped the breaker, and… nothing. It’s a frustrating moment, but don’t panic. This is a common hiccup, and the fix is often simple. Before you do anything else, head back to the breaker panel and turn the power off again. Safety is always the first step in troubleshooting. The most frequent culprit for a powerless smart thermostat is the C-wire, which provides the continuous power your new device needs. Double-check that it’s securely seated in the "C" terminal on the baseplate. While you're there, give every other wire a gentle tug to make sure they're all making a solid connection.
If the connections feel secure, pull out that photo you took earlier and carefully compare it to your current setup to ensure no wires were accidentally swapped. Also, take a quick look at the copper ends of the wires. If they look corroded or frayed, it could be preventing a good connection. If you’ve checked all the connections and your thermostat still won’t power on, it’s best not to guess. Wiring issues can be complex, and a wrong move could damage your HVAC system. This is the perfect time to call in a professional. Our team can quickly diagnose the problem and get your new thermostat working safely, ensuring your air conditioning services are ready to go.
When Is It Time to Call a Professional?
While installing a smart thermostat can be a satisfying DIY project, there are times when it’s smarter and safer to call in an expert. Knowing your limits is key to avoiding a simple upgrade turning into a costly repair. If you find yourself feeling uncertain at any point, remember that a professional installation guarantees the job is done right, protecting your investment in both your new thermostat and your HVAC system. Think of it as an insurance policy for your home's comfort.
When the Wiring Is Too Complex
Your home’s wiring can be tricky, and a smart thermostat installation involves working directly with low-voltage electrical components. Guessing which wire goes where can do more than just prevent your thermostat from working; it can short out your HVAC system’s control board, leading to an expensive repair. If your wiring doesn’t match the instructions, or if you feel at all hesitant about handling electrical connections, it’s the perfect time to call for help. Our professionals can handle the installation safely, ensuring your system’s heating and cooling functions operate correctly from the start.
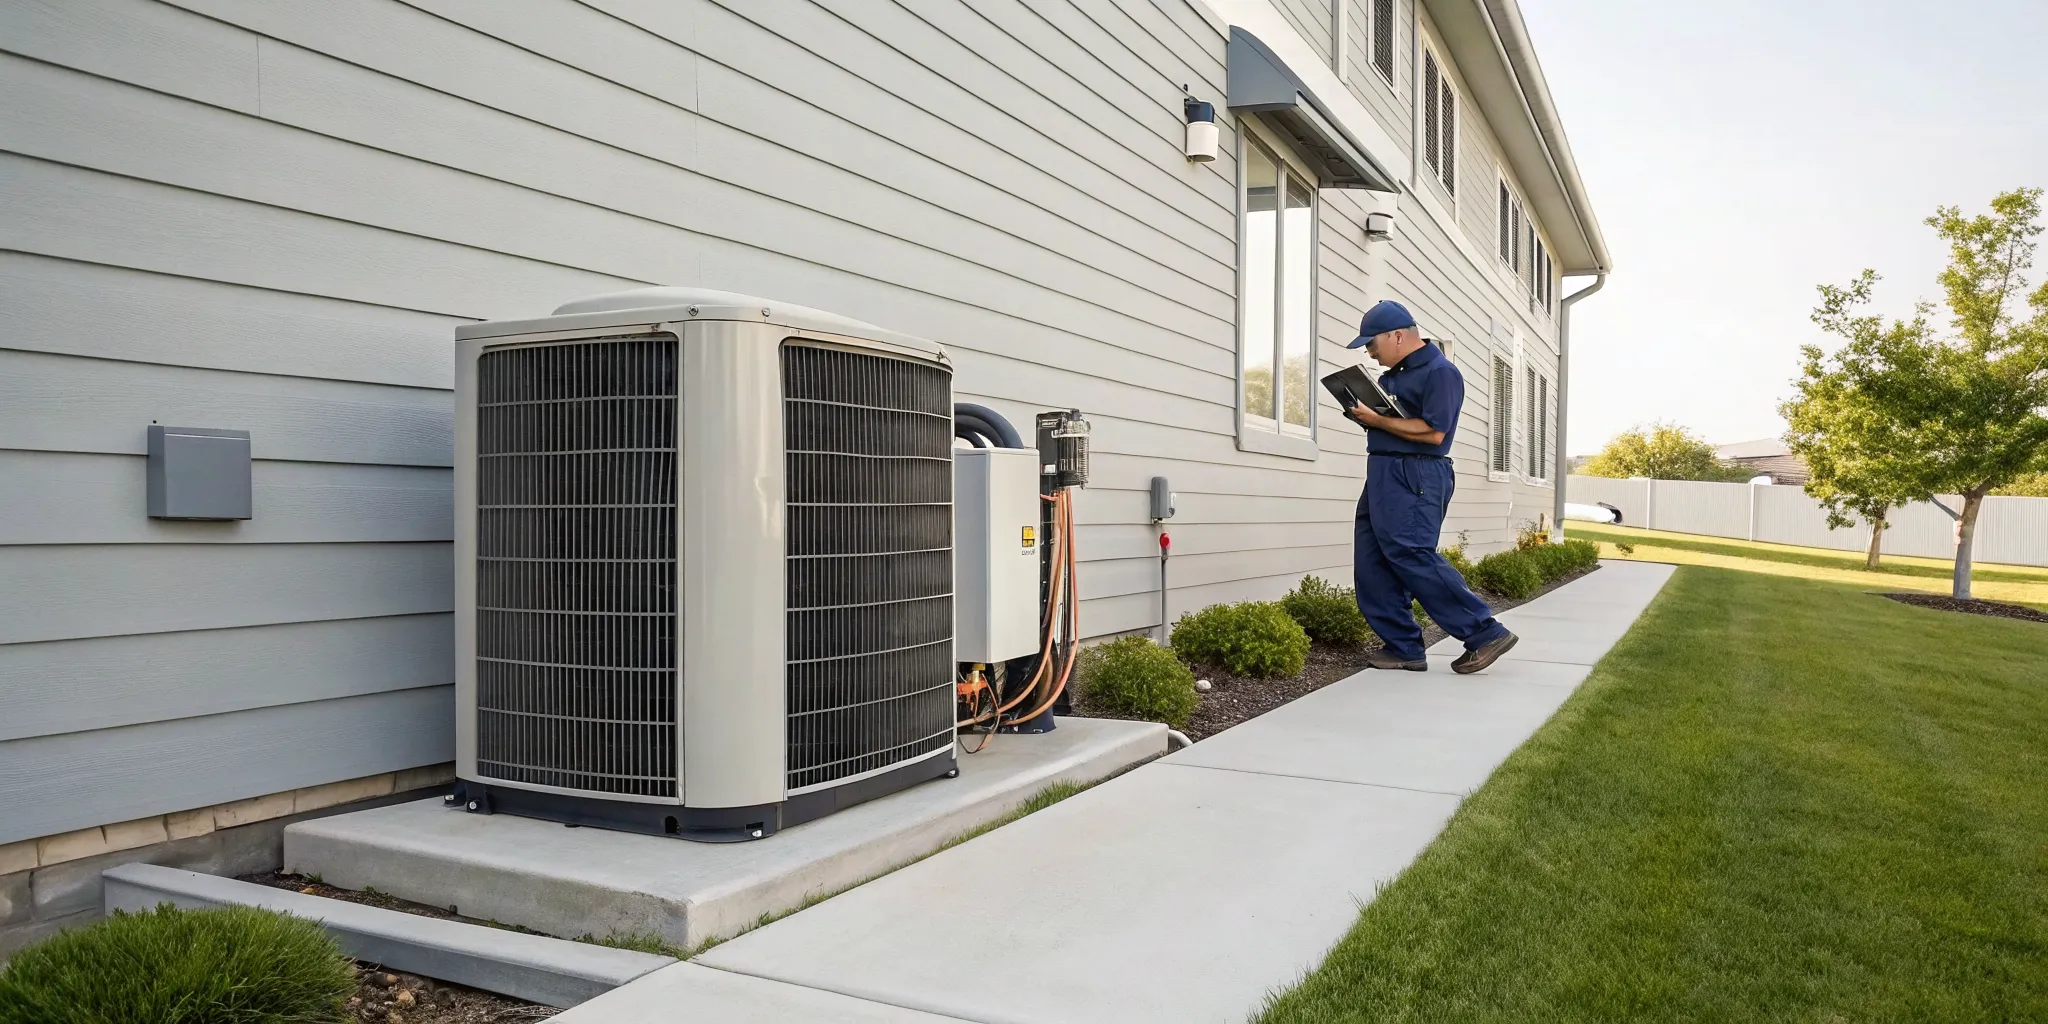
When You Have HVAC Compatibility Problems
Not every smart thermostat is compatible with every HVAC system. This is especially true for older homes or systems with more complex setups, like multi-stage heating and cooling. Forcing an incompatible thermostat to work can lead to installation failure or cause your system to run inefficiently. A professional technician can quickly determine if your new device is a good match for your existing equipment. We can recommend and install the right thermostat for your specific setup, making sure you get all the benefits of smart technology without the headache of compatibility problems.
Red Flags: When to Call a Professional
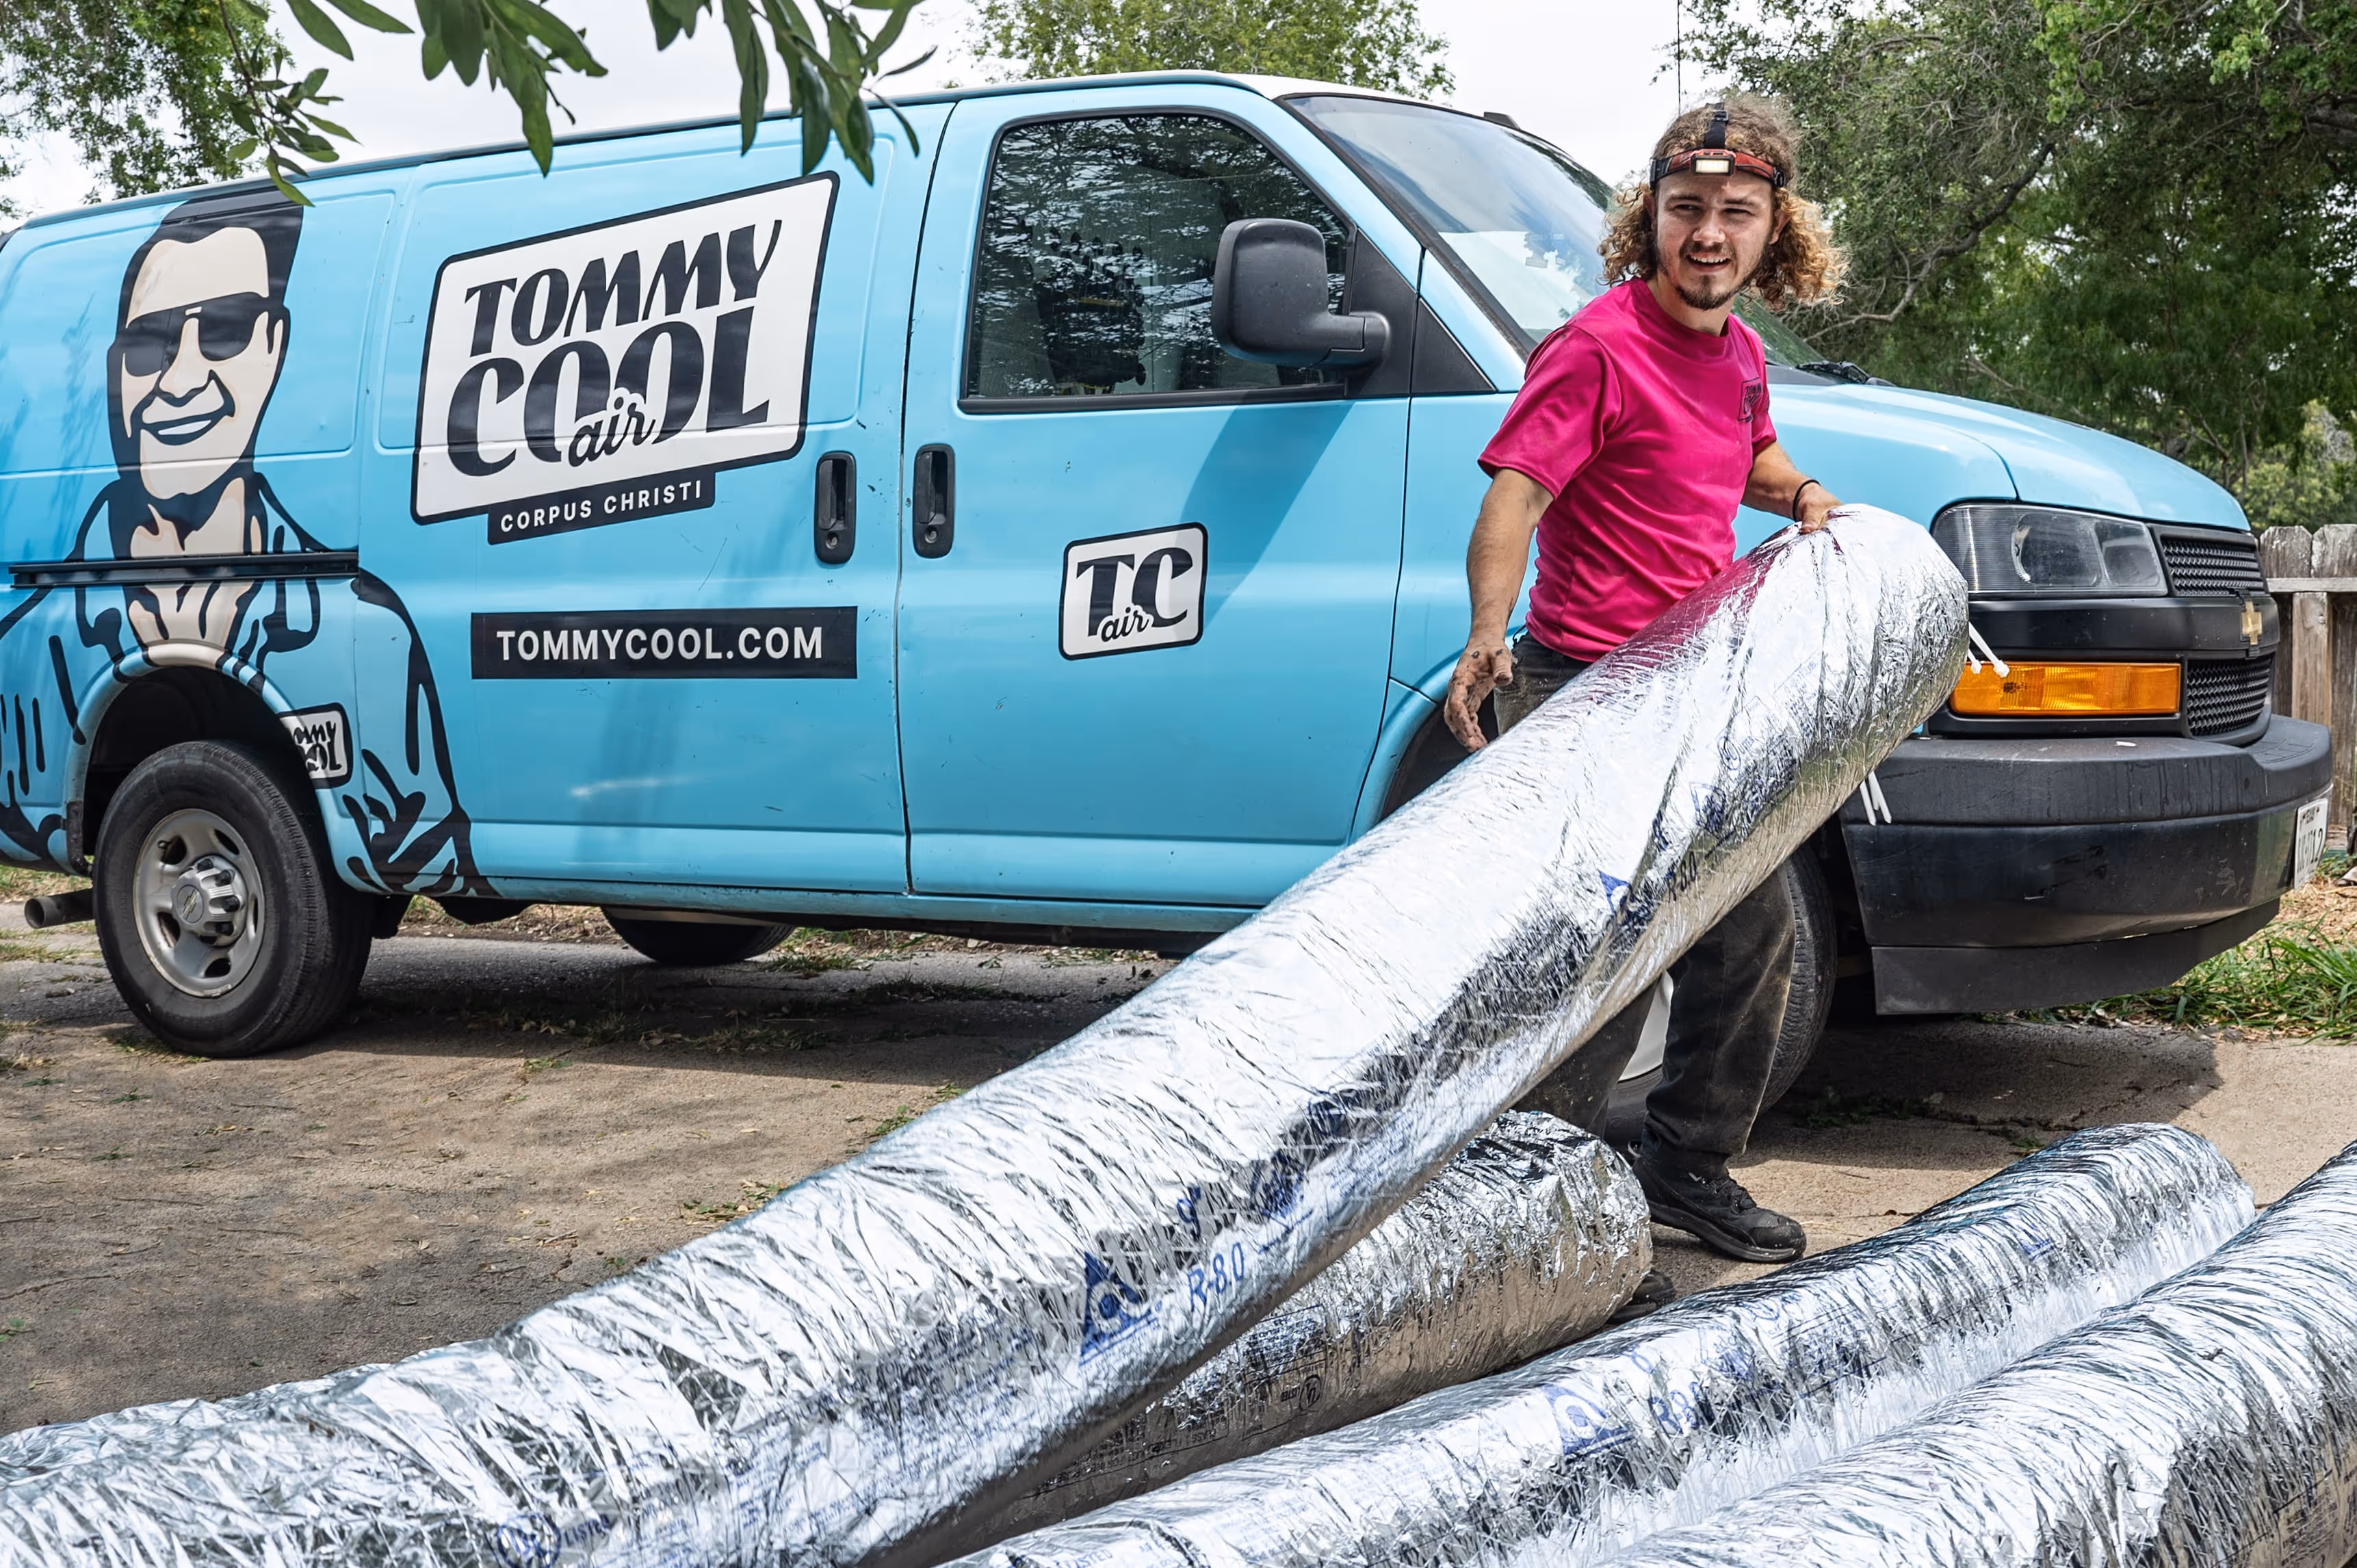
Sometimes you don't know you're in over your head until you're halfway through. If you’ve started the installation and the wires look like a tangled mess, your system won’t power on, or you’re getting error messages, it’s a clear sign to stop and call a professional. Paying for an expert’s help is much more affordable than paying to fix a damaged HVAC system. If you’re in the Corpus Christi area and feel stuck, don’t hesitate to contact our team. We’re here to get your new thermostat installed correctly so you can start enjoying a more comfortable and efficient home.
The Benefits of a Professional Installation
Deciding to call a professional isn't admitting defeat; it's making a smart, strategic choice to protect your home and your new investment. While the satisfaction of a DIY project is great, the confidence that comes with a flawless, expert installation is even better. A professional brings experience, the right tools, and a deep understanding of how your thermostat interacts with your entire HVAC system. This expertise not only ensures the job is done correctly but also comes with some significant advantages that you simply can't get when you do it yourself. It’s about safeguarding your comfort and your wallet in the long run.
Extended Product Warranties
One of the most important benefits of hiring a pro is protecting your product warranty. Many thermostat manufacturers, especially for high-end models, require professional installation to validate their warranties. If you install it yourself and something goes wrong down the line—even if it’s not your fault—the manufacturer could void the warranty, leaving you responsible for the full cost of a replacement. A professional installation from a trusted company provides proof that the device was set up correctly according to manufacturer specifications. This protects your investment and ensures you’re covered if you ever need to use the warranty for your new heating and cooling equipment.
Peace of Mind
Beyond the warranty, a professional installation offers invaluable peace of mind. You don’t have to worry about misinterpreting complex wiring diagrams or accidentally causing a short that could damage your HVAC system’s control board—a surprisingly common and expensive mistake. An expert handles all the technical details, ensuring every connection is secure and your system is running efficiently from the moment it’s turned on. Knowing that a trained technician has correctly installed and tested your new thermostat allows you to simply relax and enjoy the comfort and convenience of your upgraded system without any lingering "what ifs." It’s the easiest way to guarantee your air conditioning services are set up for success.
Related Articles
- Smart Thermostat Installation in Corpus Christi, TX | Tommy Cool Air
- A Warning Before Buying a Programmable Thermostat | Tommy Cool Air
- How Wi-fi Thermostats Can Help You Save On Energy Bills | Tommy Cool Air
- DIY Ductless Mini Split AC Installation | Tommy Cool Air
- Your Guide to Mastering Indoor Climate Control in Every Season | Tommy Cool Air
Frequently Asked Questions
What if my wiring colors don't match the instructions? This is a very common situation, so don't panic. Wire colors are not always standard across different HVAC brands. The most important thing isn't the color of the wire, but the lettered terminal it was connected to on your old thermostat. This is why taking a clear photo before you disconnect anything is so critical. Refer to your photo and match the wires based on the terminal labels (like R, G, Y, etc.) from your old unit to the new one.
How much money can I actually save with a smart thermostat? The exact amount you save depends on your lifestyle, your home, and the climate here in Corpus Christi. The savings come from the thermostat's ability to learn your routine and automatically adjust the temperature when you're away or asleep. By ensuring you aren't paying to cool an empty house, it makes your system much more efficient. Over time, these intelligent adjustments can lead to a noticeable reduction in your monthly energy bills.
Do I really need a C-wire for my smart thermostat to work? Most smart thermostats do require a C-wire (common wire) to get the continuous power they need for features like a backlit screen and Wi-Fi connectivity. While some models offer power adapter kits as a workaround, a dedicated C-wire provides the most stable and reliable performance. If you find you don't have one, it's often best to have a professional safely run a new wire for you.
How long should this installation take me? For a straightforward installation where the wiring is simple and compatible, you can likely get the job done in under an hour. However, if you run into issues like needing to drill new holes, or if you have to troubleshoot a missing C-wire, it could take longer. It's a good idea to set aside a couple of hours so you don't feel rushed.
My new thermostat isn't turning on. What should I check first? If your screen is blank after installation, start with the simplest solutions. First, make sure you turned the power back on at the circuit breaker. Next, check that the thermostat's faceplate is snapped securely onto the baseplate, as a loose connection can prevent it from powering up. Finally, double-check that your C-wire has a solid connection. If you've tried these steps and it still won't turn on, it's a good idea to call a professional to take a look.